This project focused on how to install a code-compliant staircase in an old 1880s Farmhouse. The existing staircase was an addition to the original floorplan circa the 1940s because the original house did not have a 2nd floor. The method by which the existing staircase was constructed does not meet modern building codes and is often referred to as “Grandfathered in”. In order to build a staircase to meet the building codes, we needed to have more space. This meant we had to get creative with the layout of the staircase and redefine the layout of the 2nd floor and basement stairway door.
Grandfathered Staircase in an 1880s Farmhouse
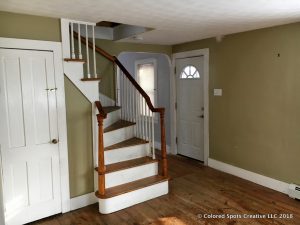
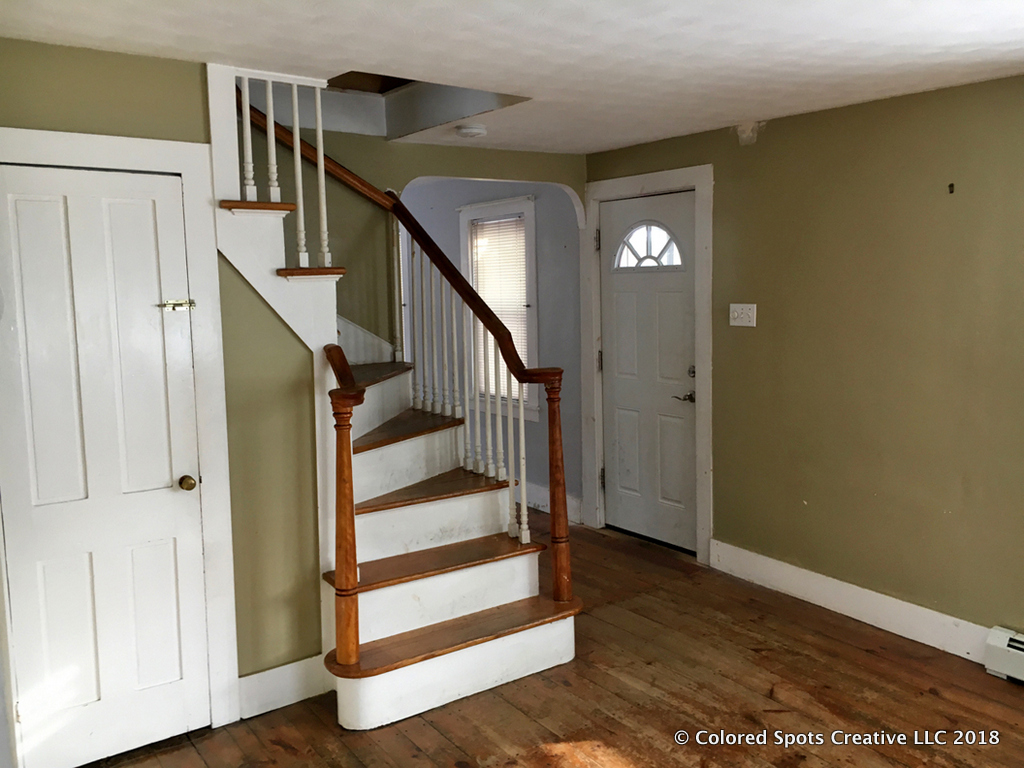
Existing staircase had narrow steps, a steep rise, and was difficult to climb 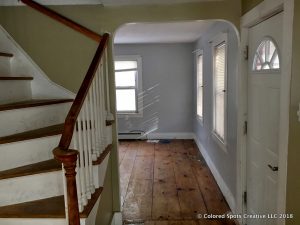
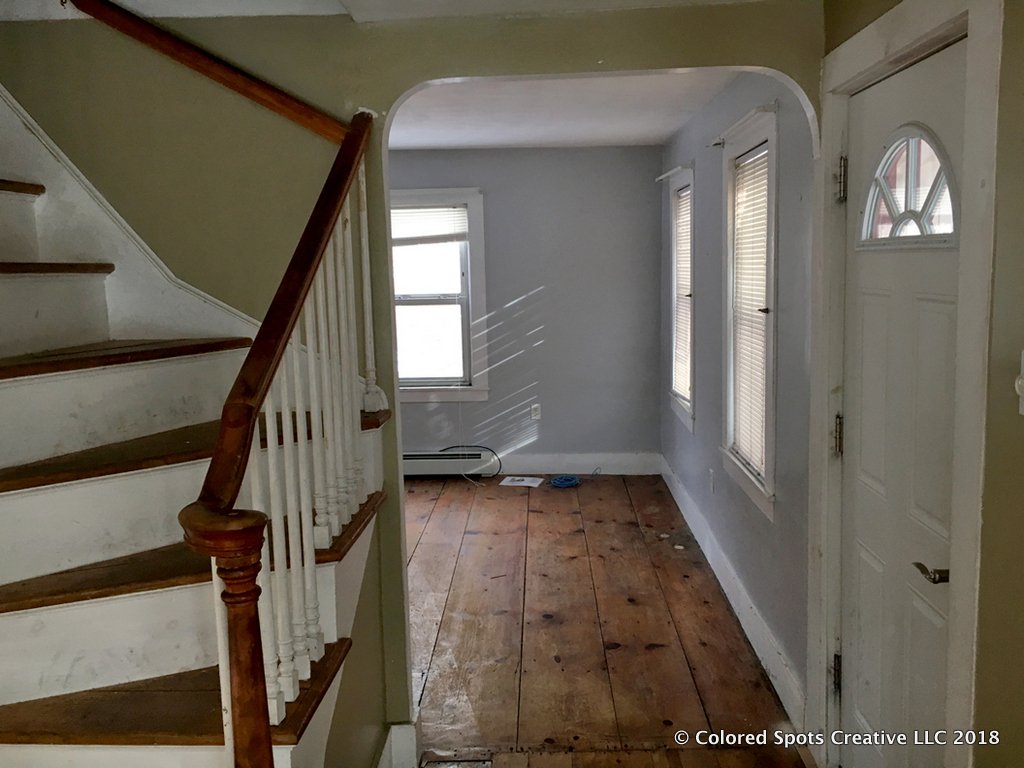
The front door was inline with the staircase and only had a 4 foot clearance 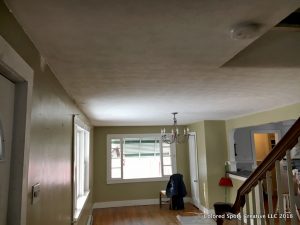
High ceilings made it a challenge to fit a staircase in the small footprint 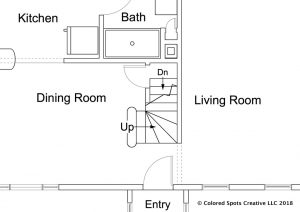
1st floor plan of the grandfathered staircase 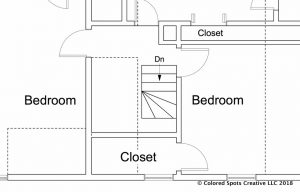
2nd floor plan of the grandfathered staircase


Design of a code-compliant Staircase
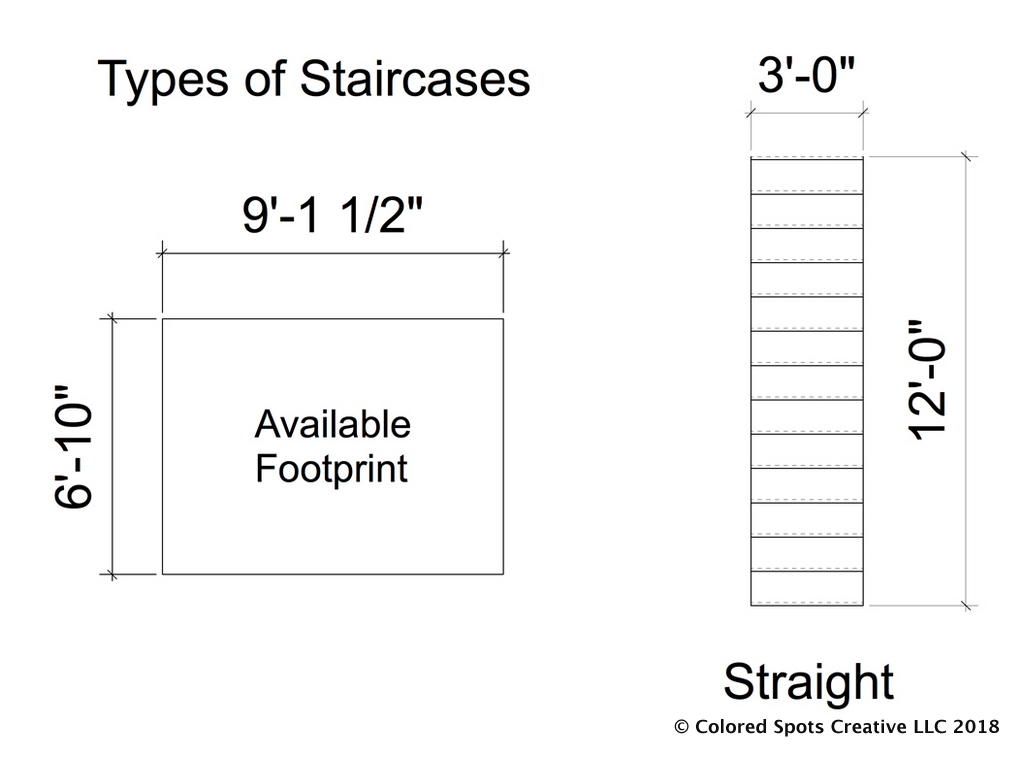
Available footprint in relation to straight staircase 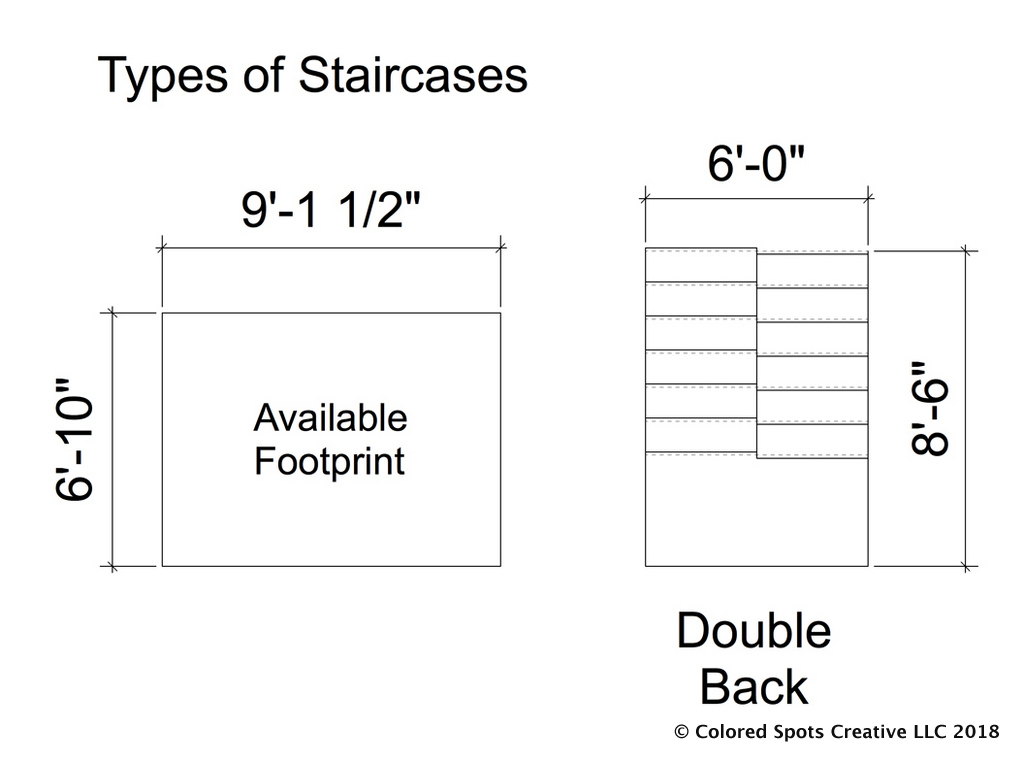
Available footprint as it relates to double back staircase 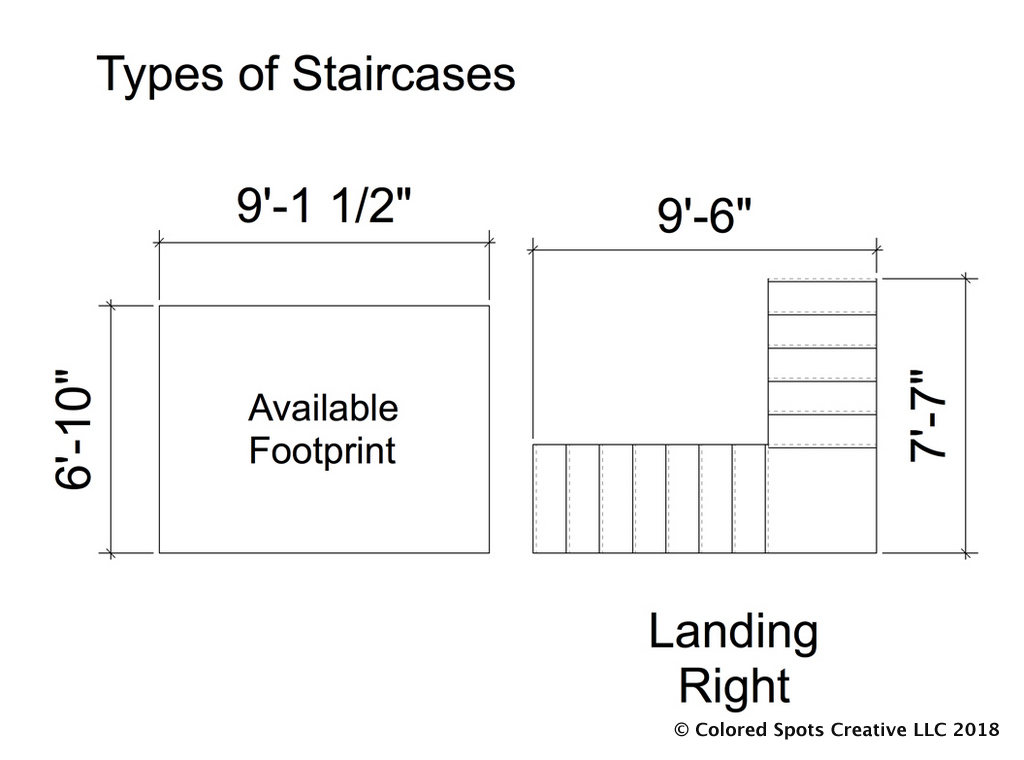
Available footprint as it relates to a landing right staircase 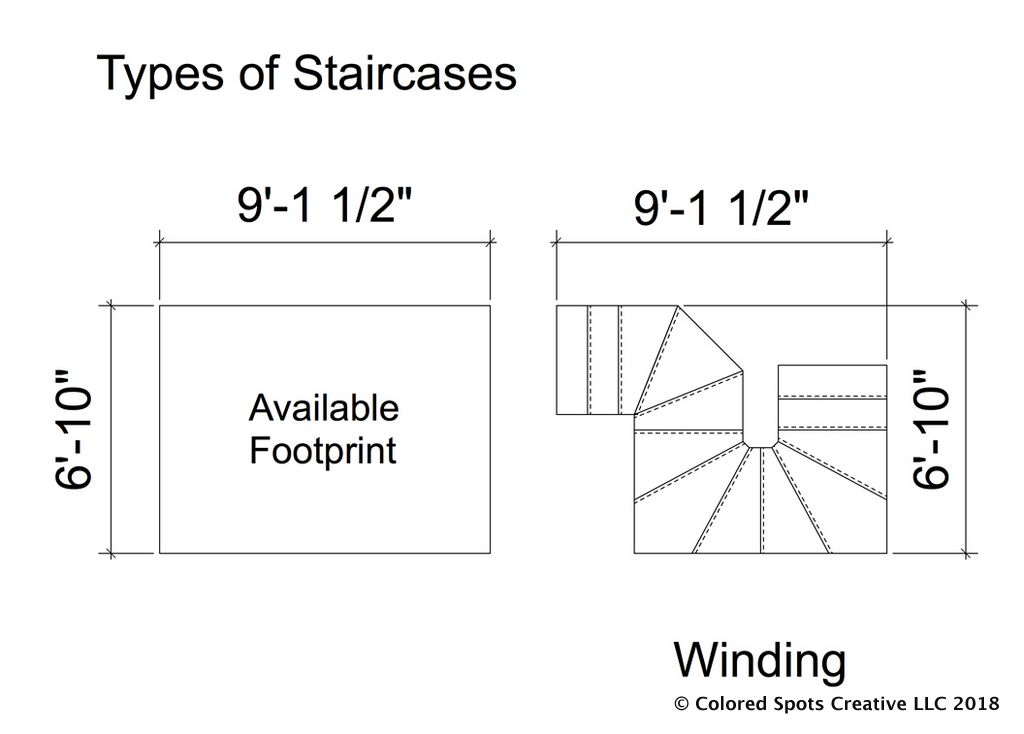
Available footprint how it relates to a custom winder staircase 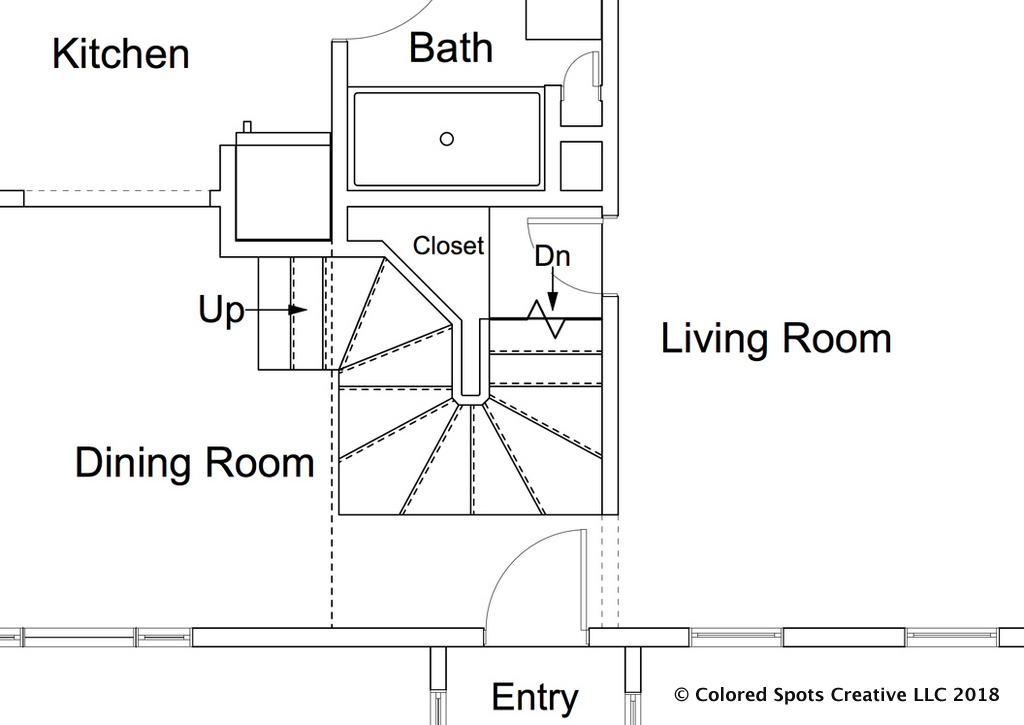
1st floor plan winding staircase. Access to the basement was moved into the Living Room. 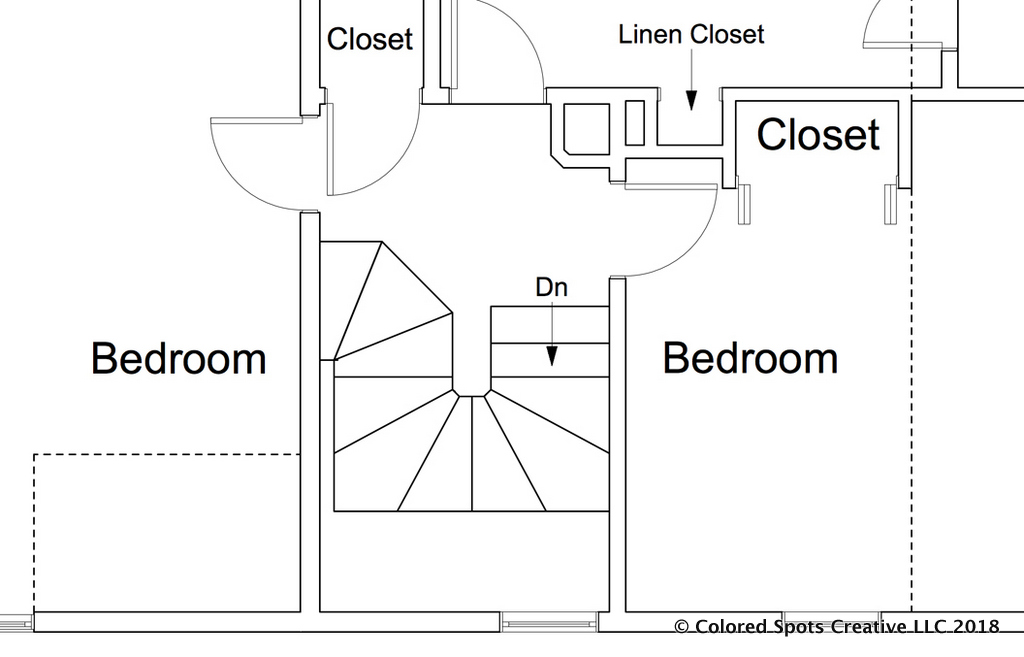
2nd floor plan winding staircase. The Bedroom Closet was removed to make room for the new staircase. 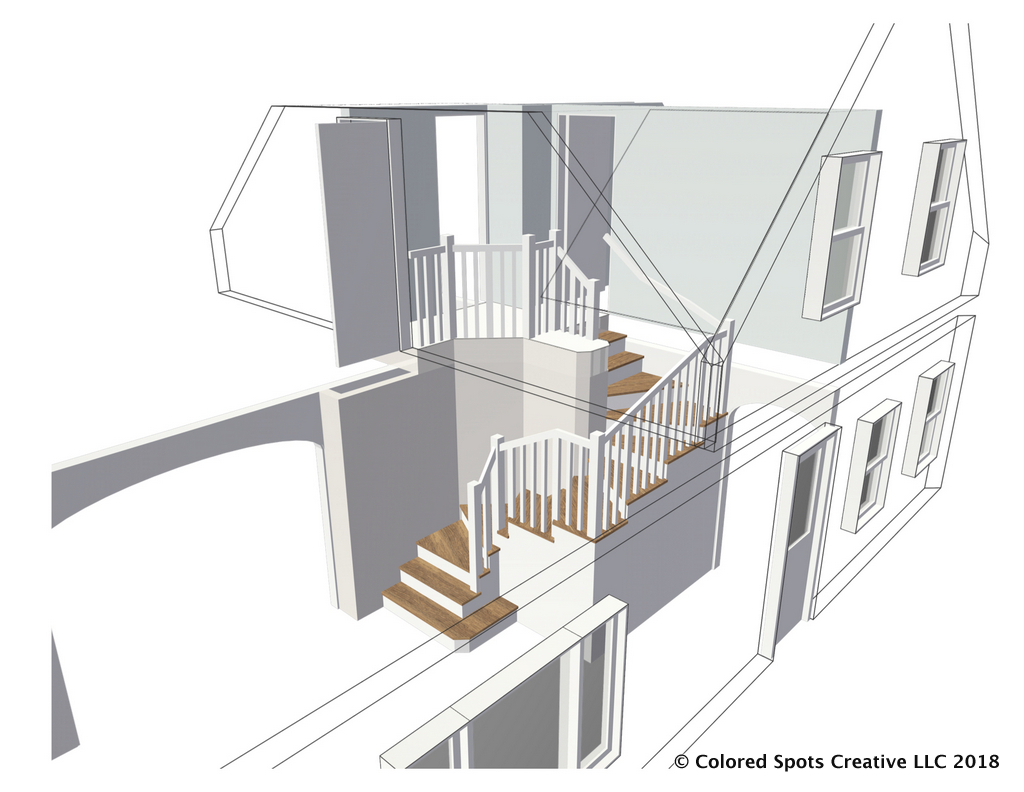
3D Rendering winding Staircase. Showing roof line and walls. 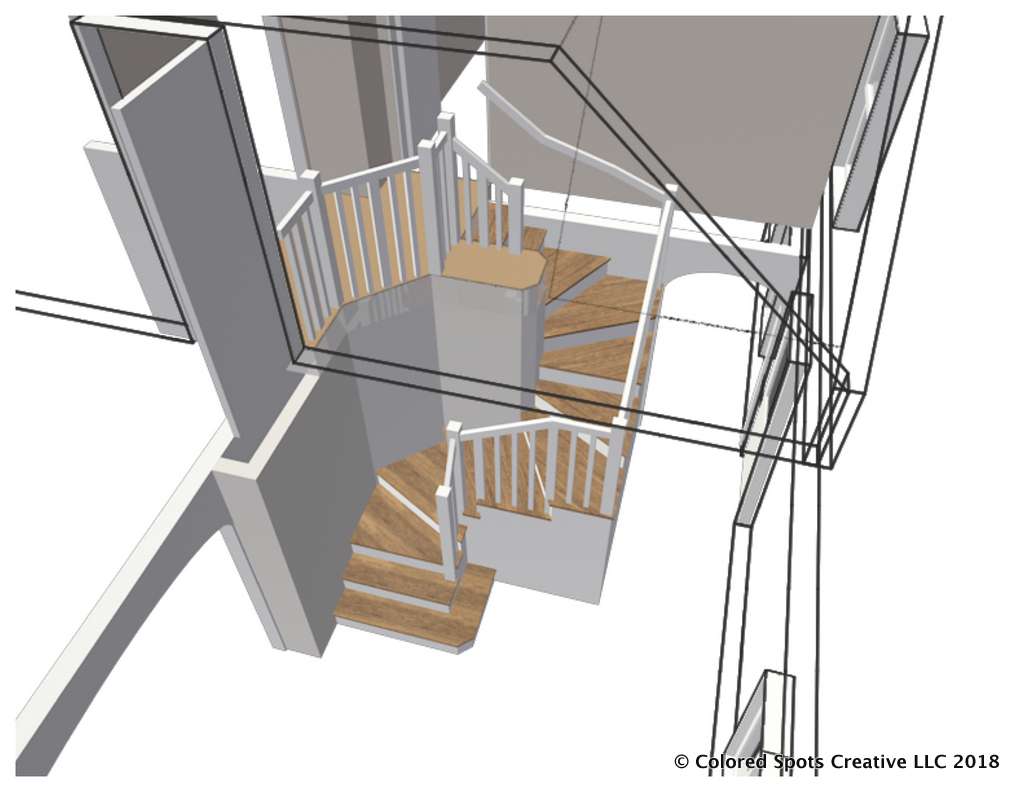
3D rendering of winding staircase. Showing an x-ray view of the staircase in the space.


Demolition of the Grandfathered Staircase

First step was removing plaster 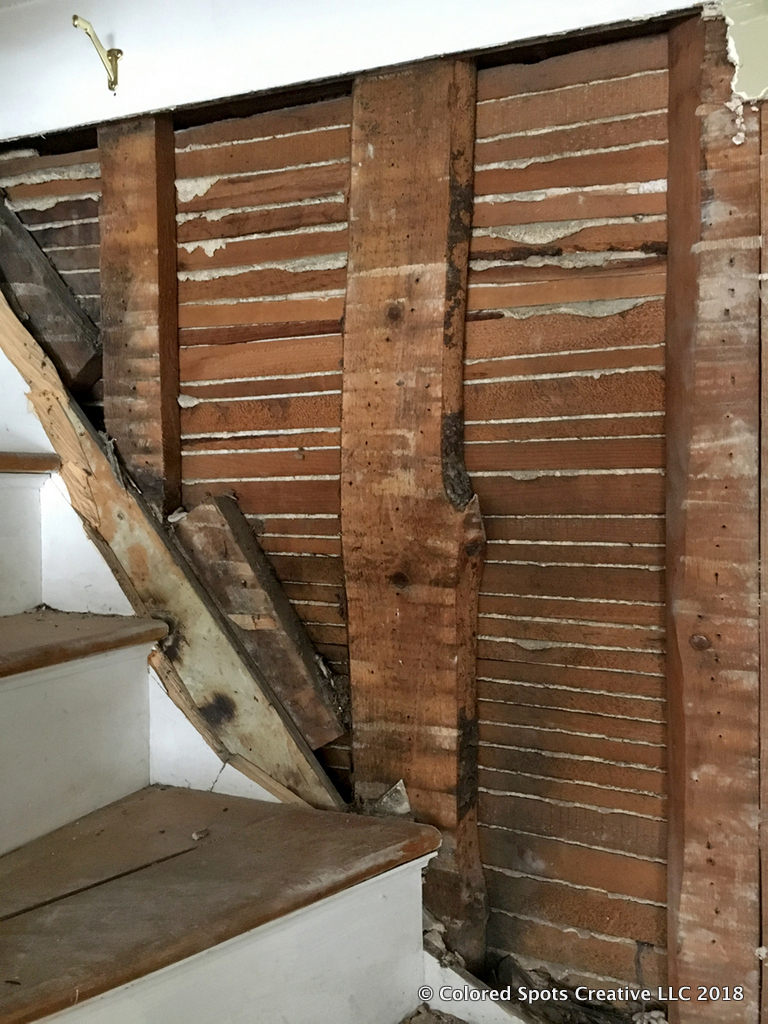
1880s studs 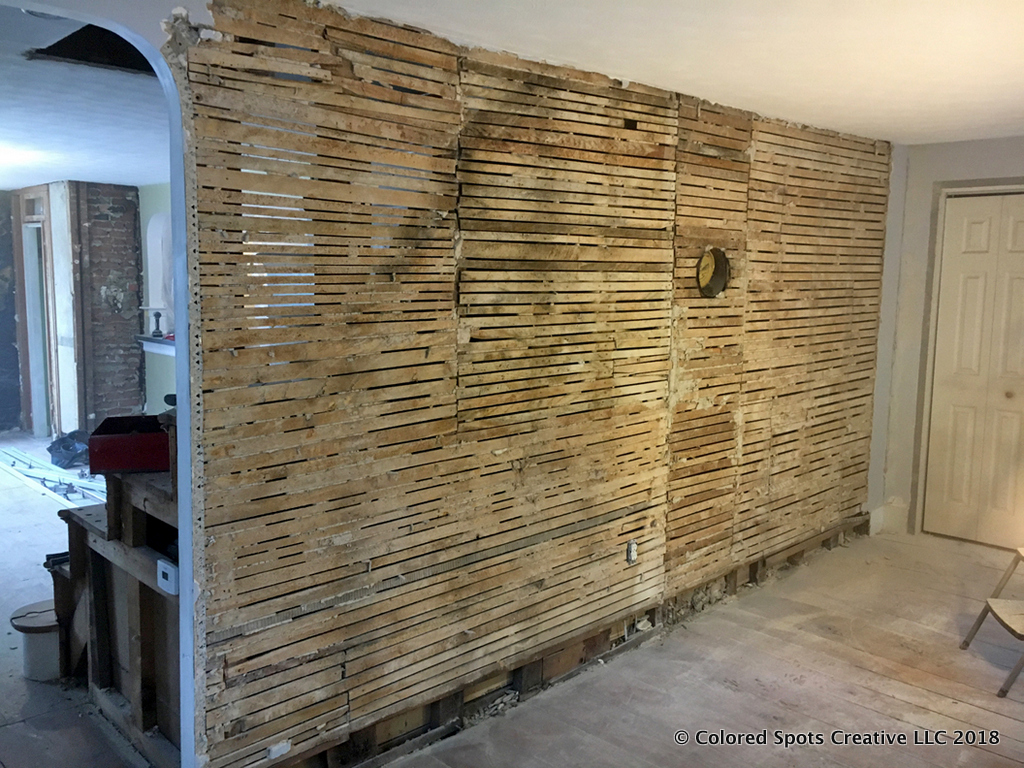
1880 lathe 
Original roofline 
Plaster on the 2nd floor being removed 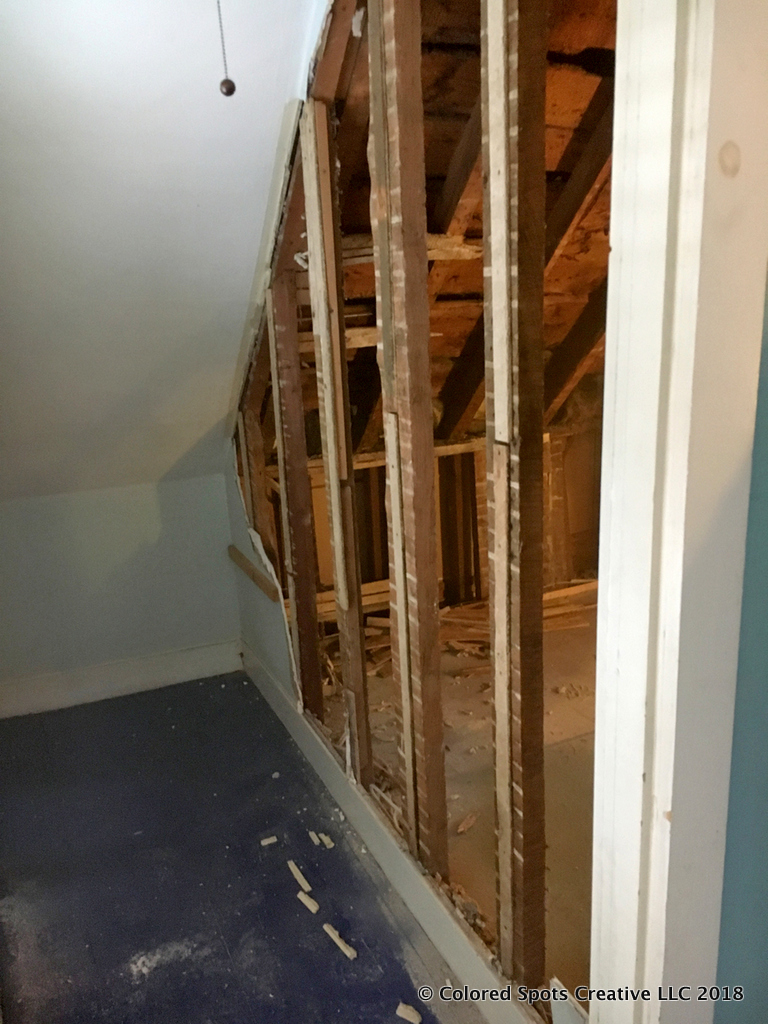
Removing the closet to make headroom for the new stairs 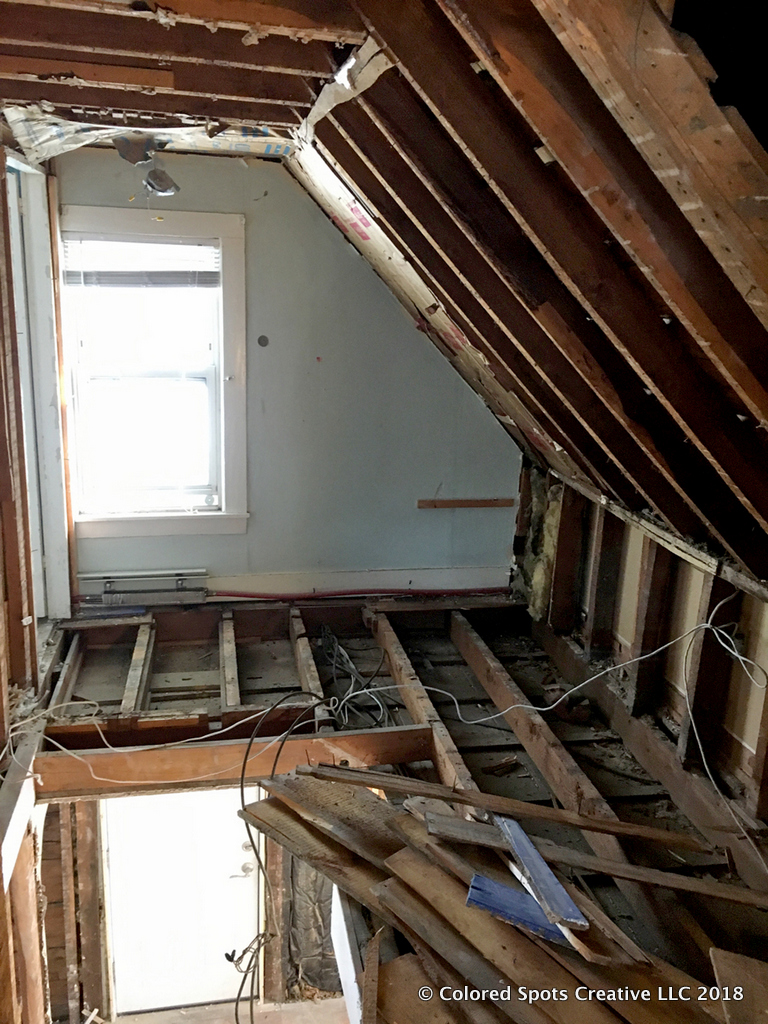
We lost a closet in the bedroom but gained a window in the stairwell 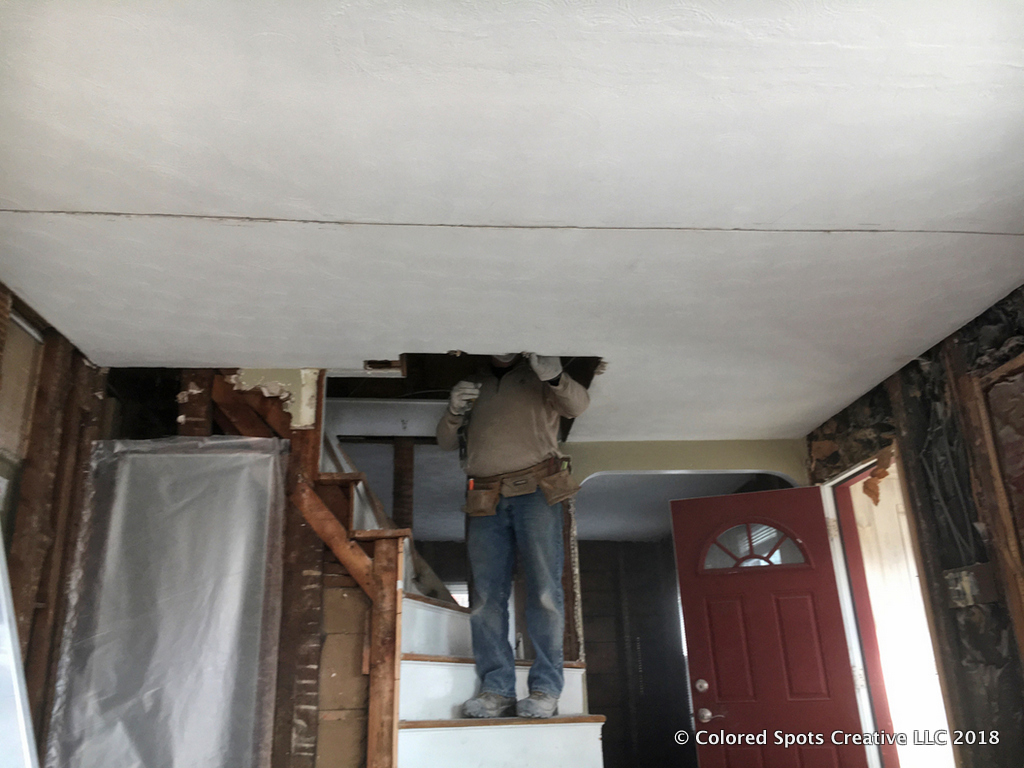
Scoring the roof plaster to keep a clean line 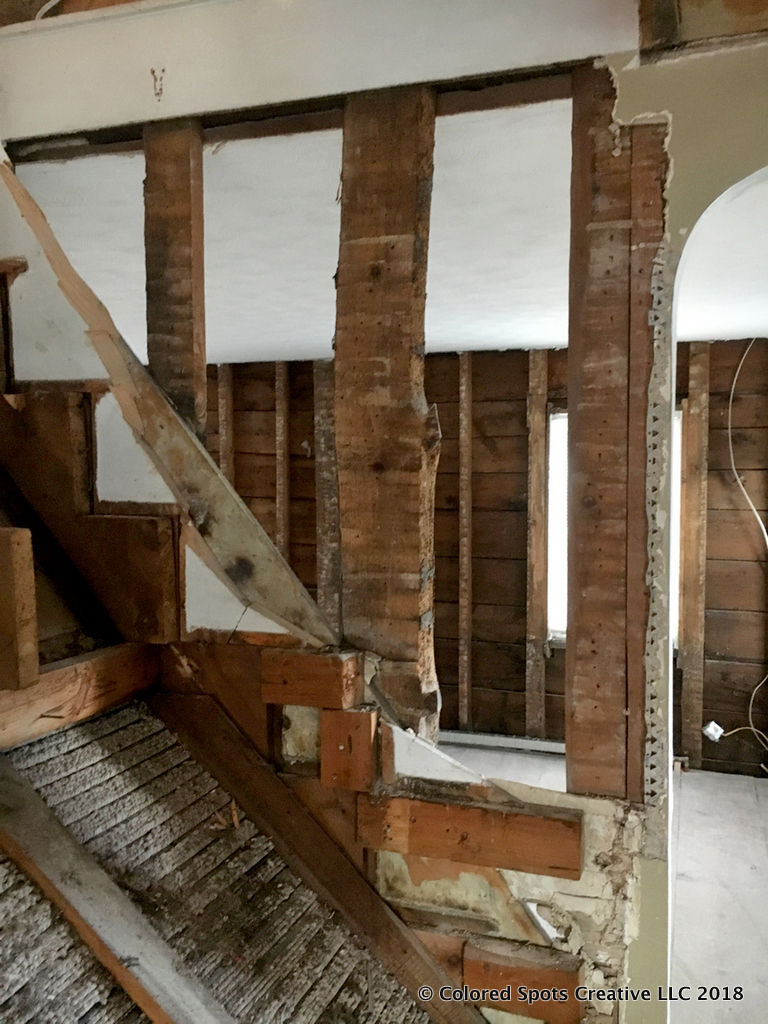
Detail of 1880s studs 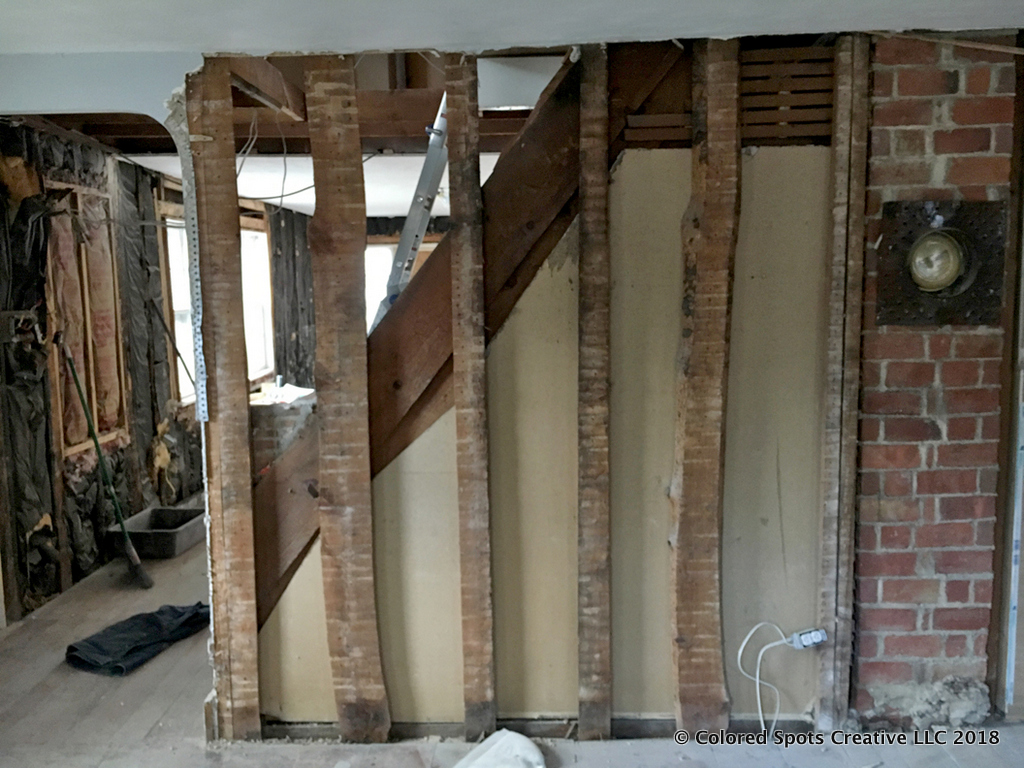
Original 1880s stud wall 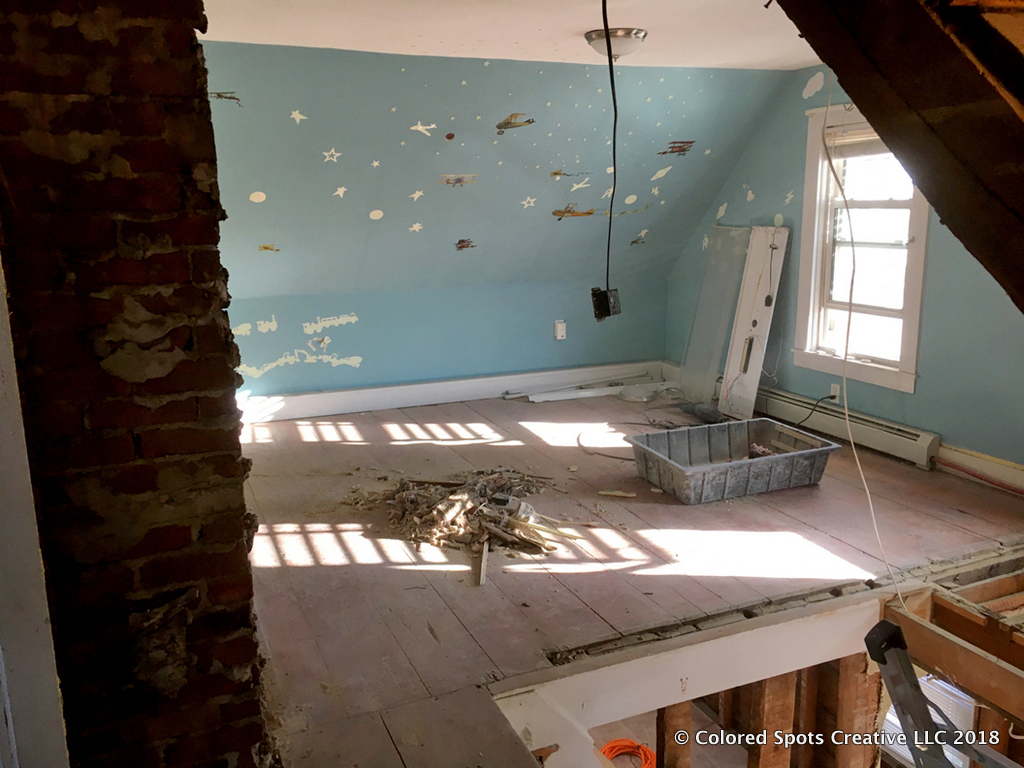
The entire wall Bedroom was non-load bearing and removed 
Removing the basement stair entry 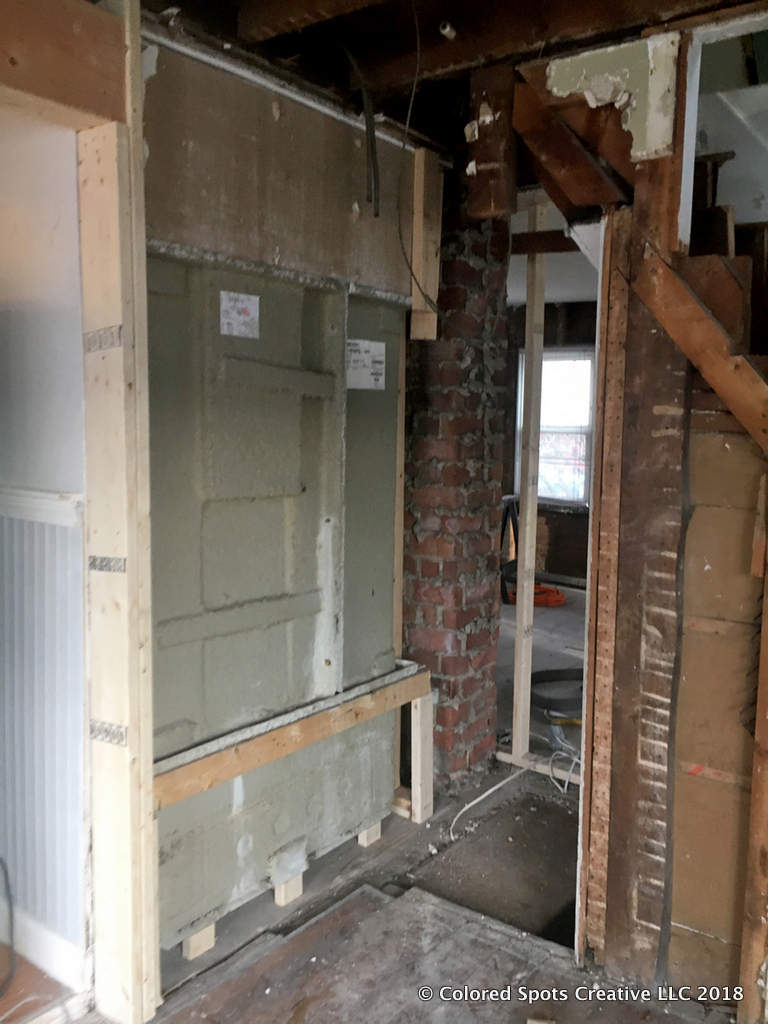
Looking at the back of the shower in the 1st floor bathroom 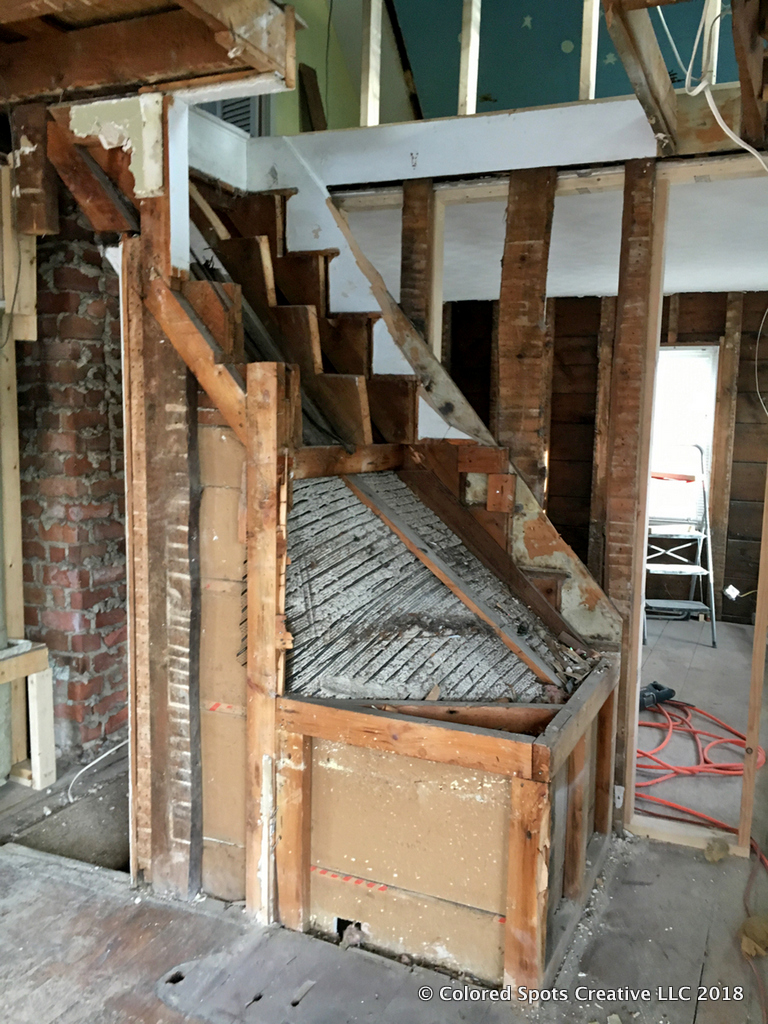
Looking at the headroom doghouse for the basement stairs 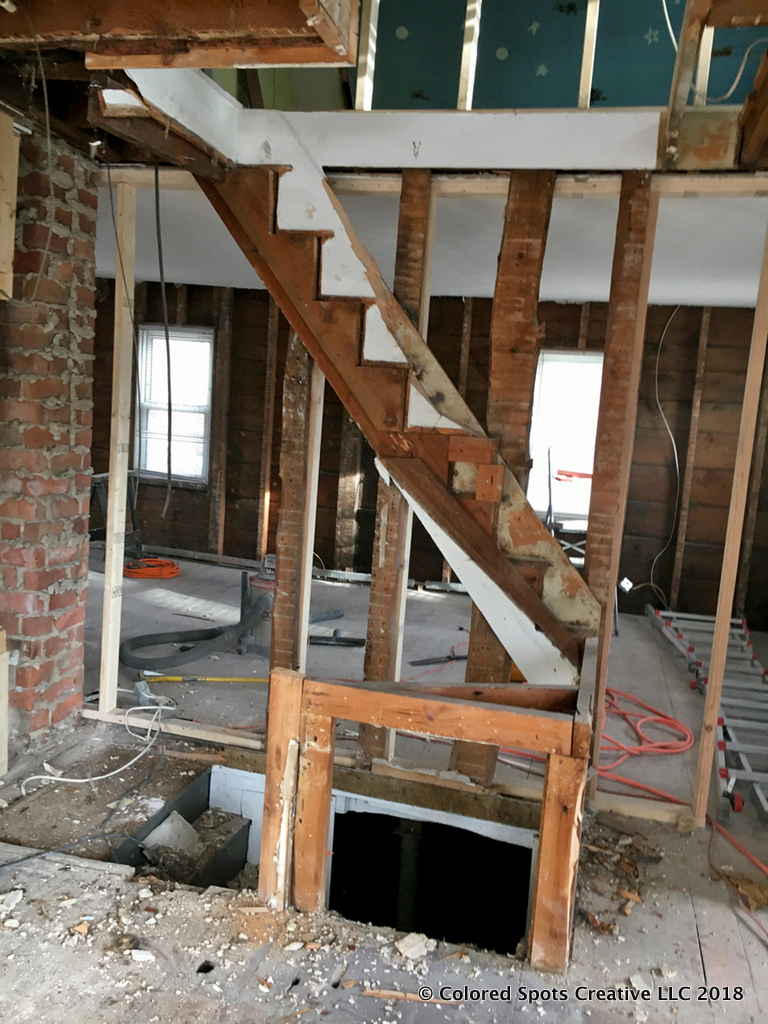
Removing the doghouse 
Out with the old grandfathered staircase 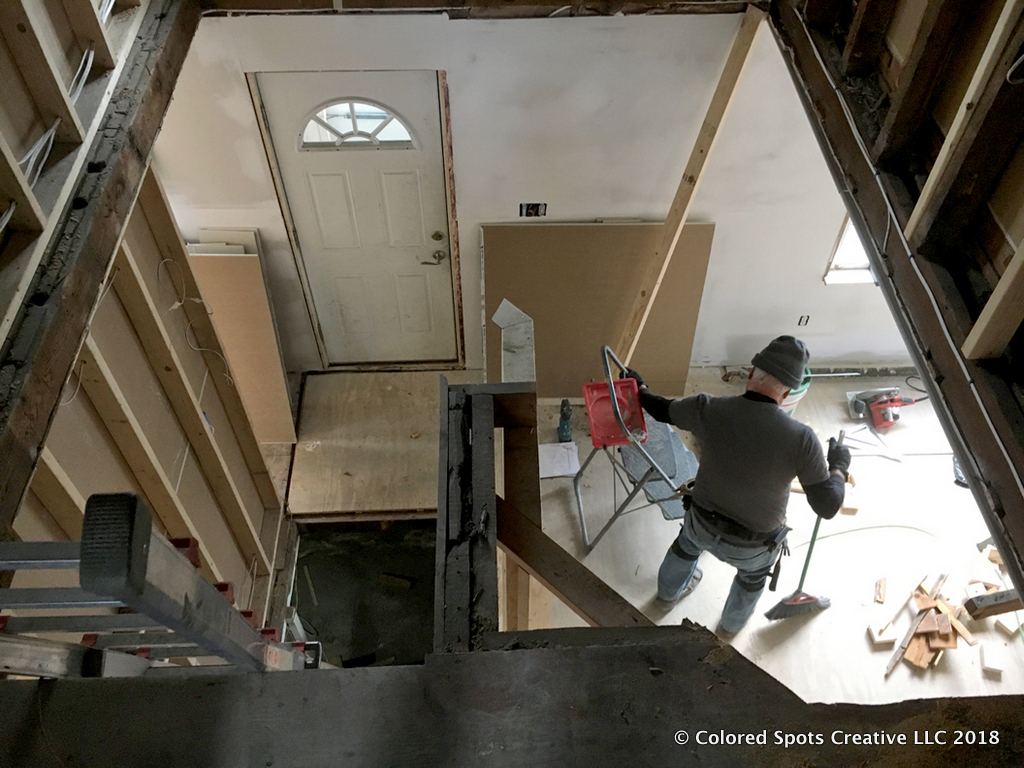
Removal of old floor joists to make room for new stairs
Back Framing the Winding Stairwell
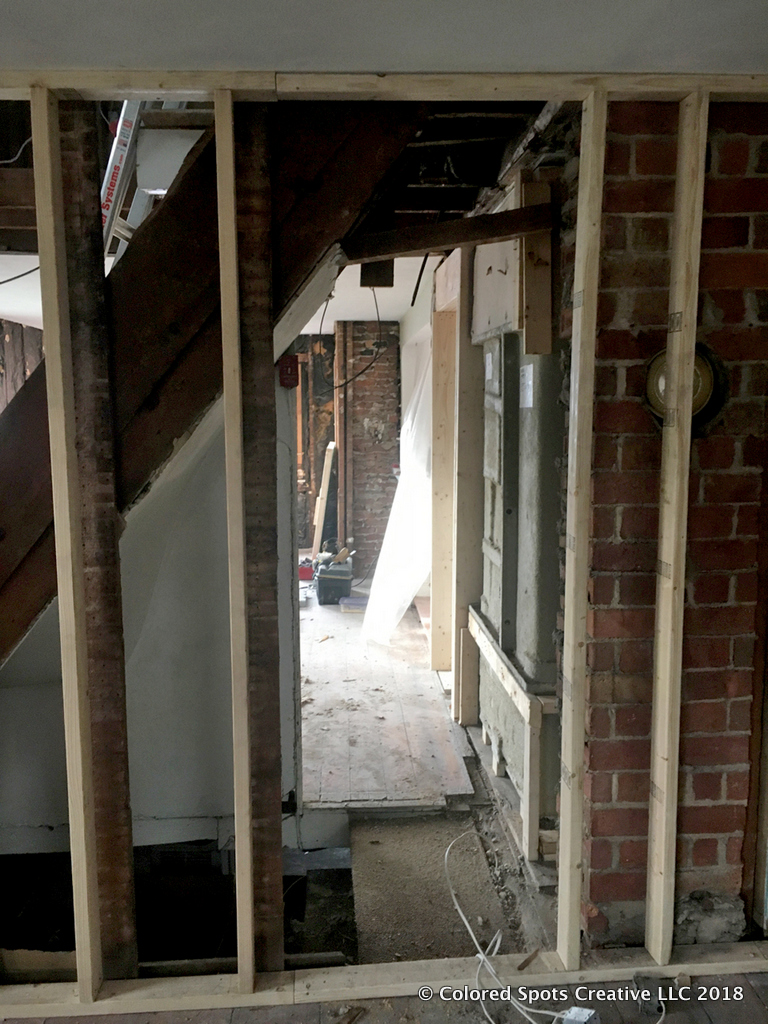
Showing move of basement door into living room from dining room 
Extending the ceiling joist over the stairwell 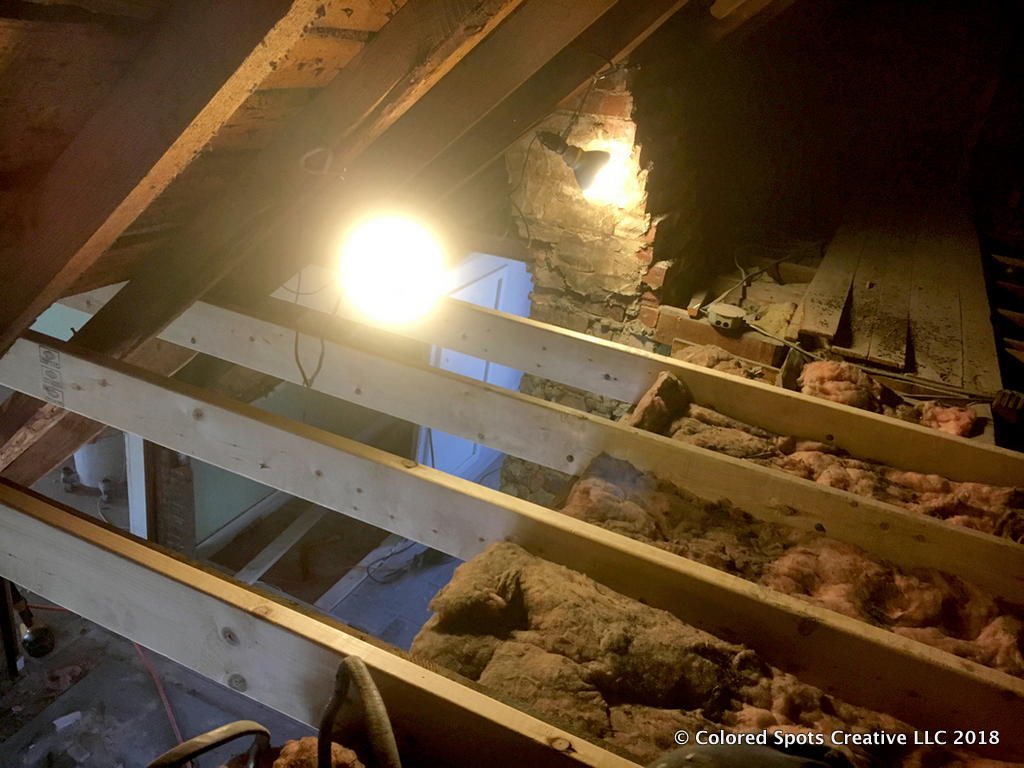
View from the attic showing the sistering of 2x6s to the ceiling joists 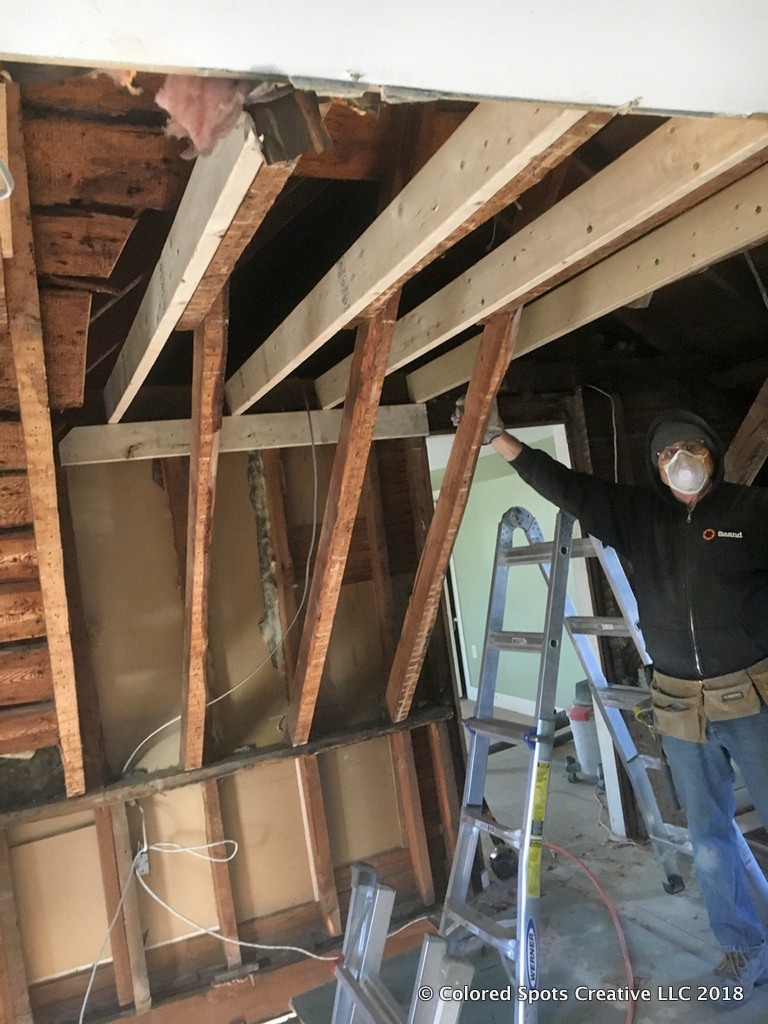
Sistering of ceiling joists to remove blind raftersallowed for the removal of blind rafters 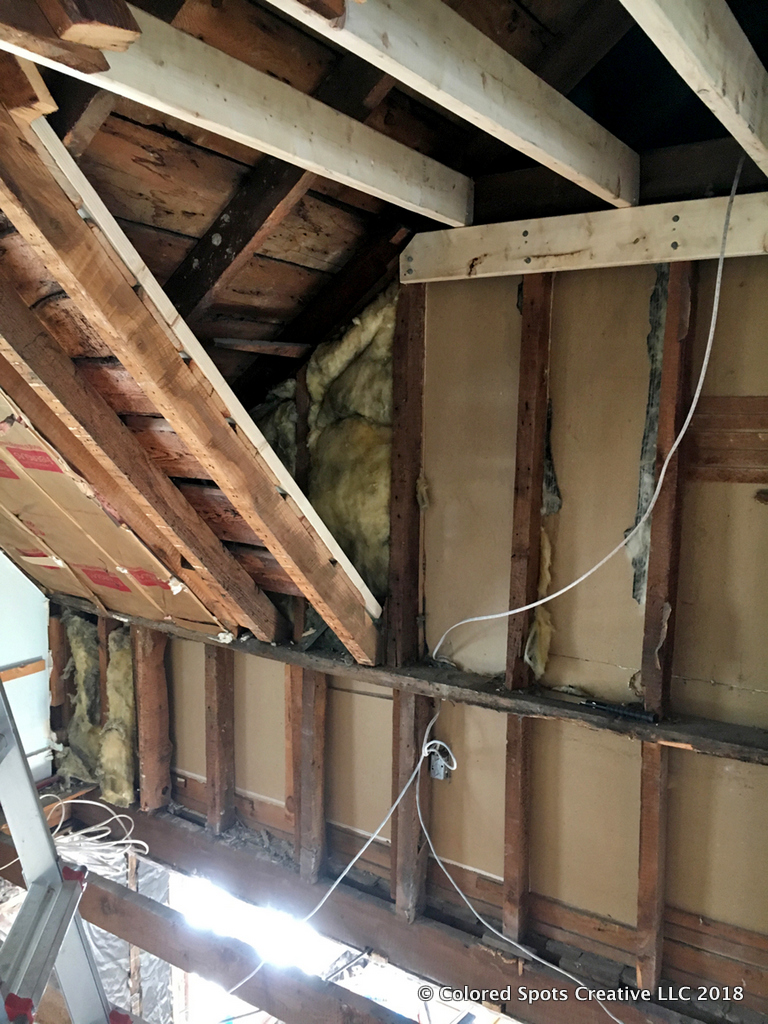
Removal of blind rafters to provide more headspace 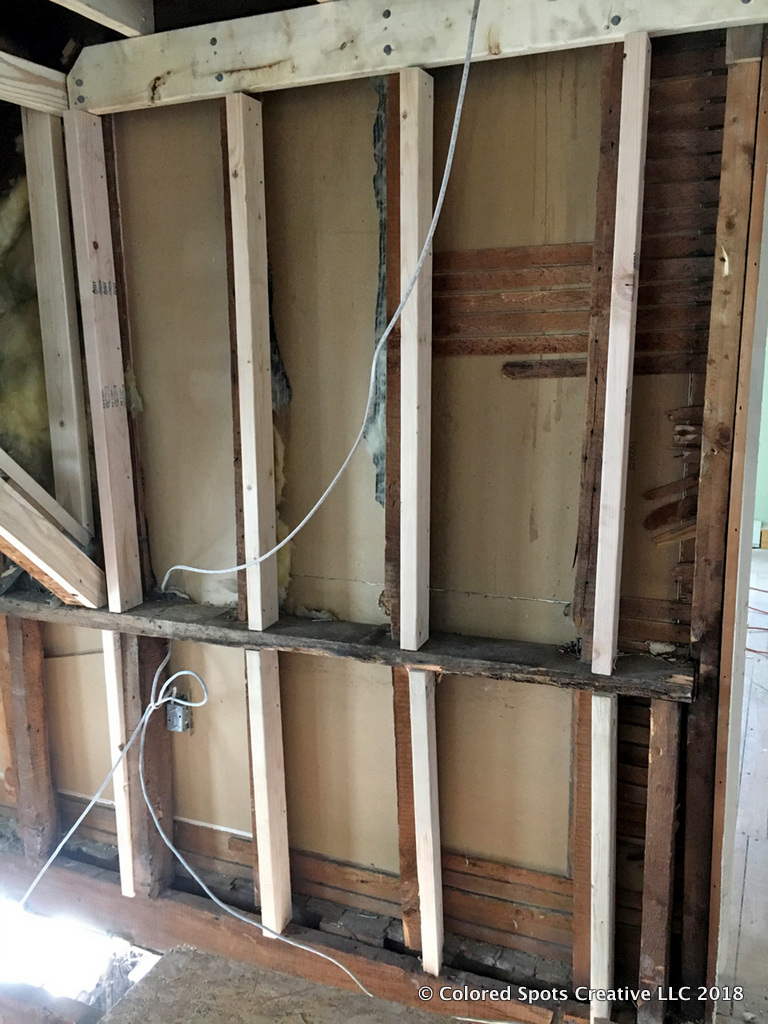
sistering 2x4s to level old 1880s framing 
Showing the floor joists 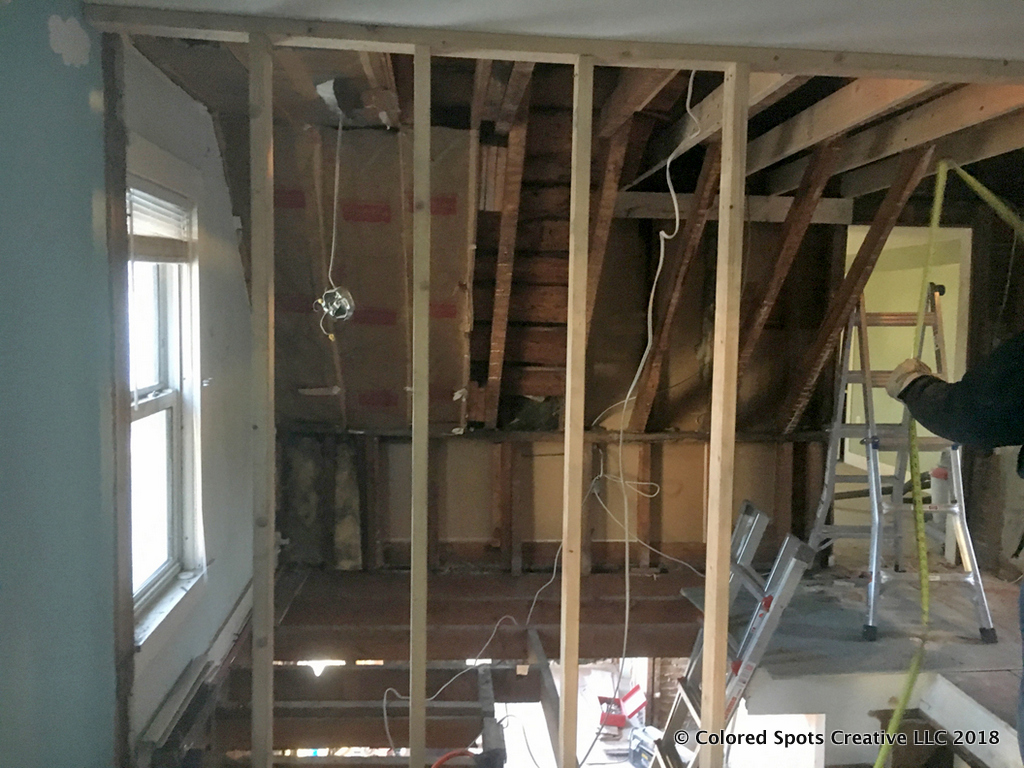
Back framing of bedroom wall 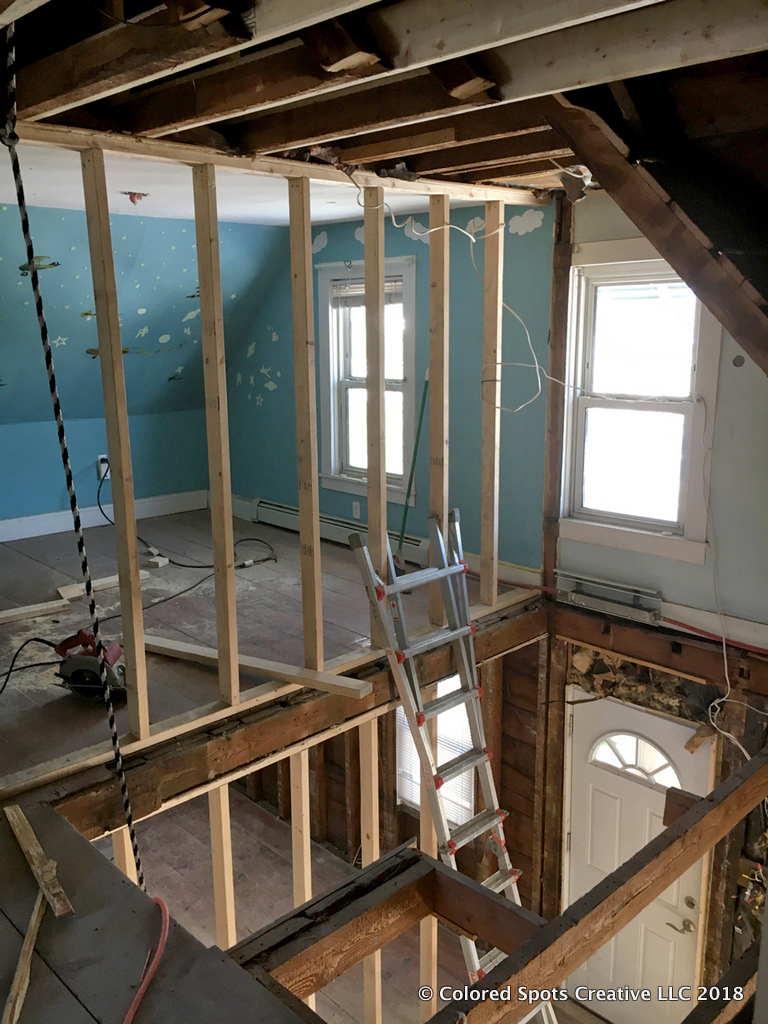
Showing the new headspace for the stairwell 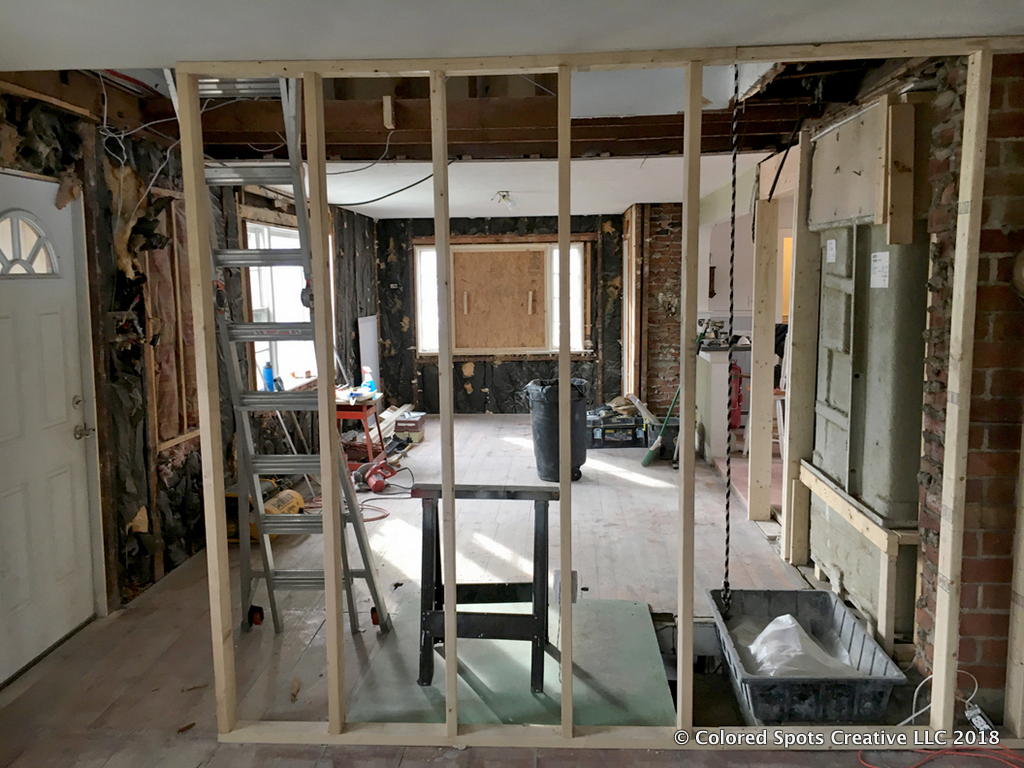
Back framing of 1st floor wall 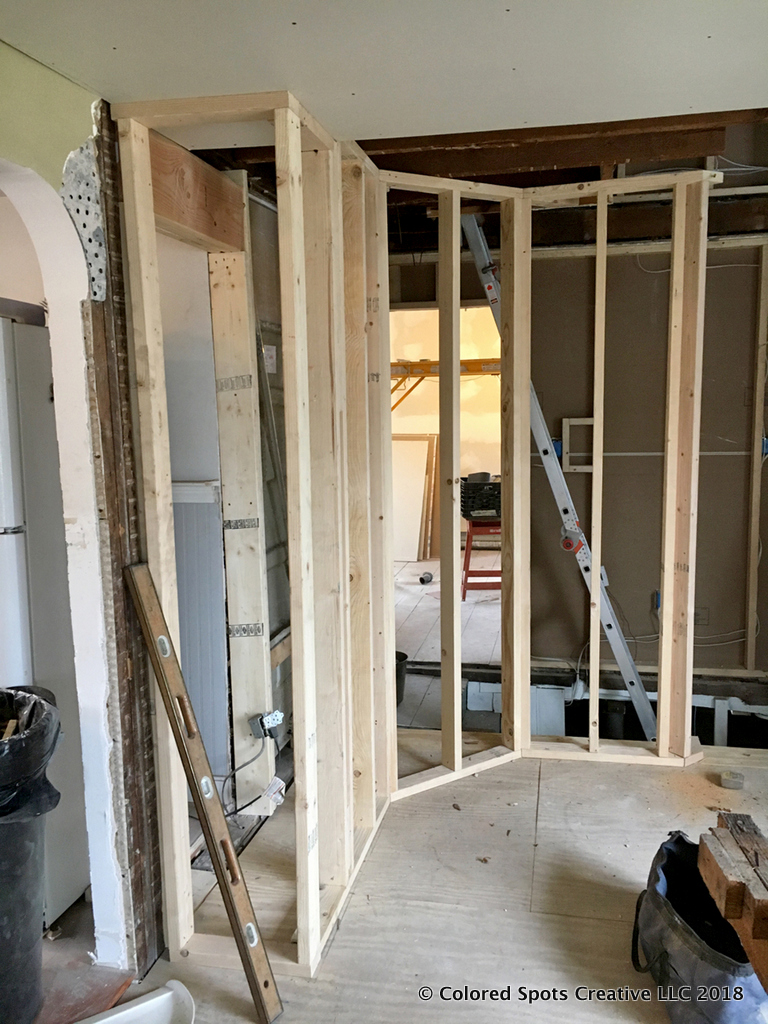
Back framing new stairwell support wall
Drywall the Winding Staircase
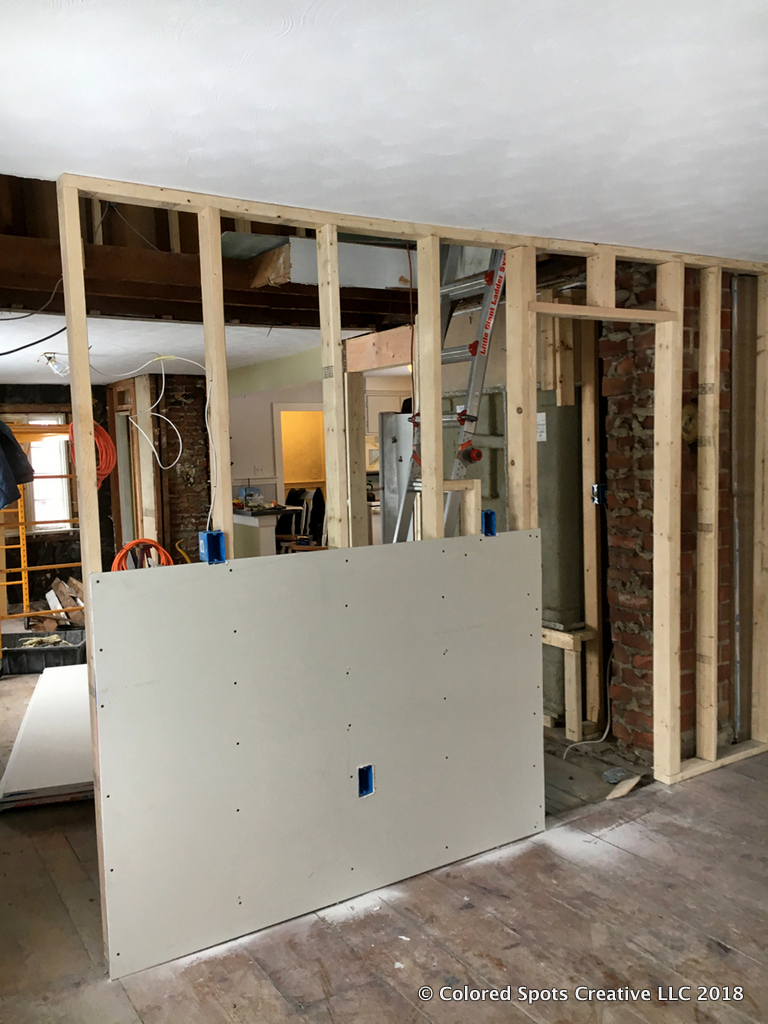
Drywalling new living room wall 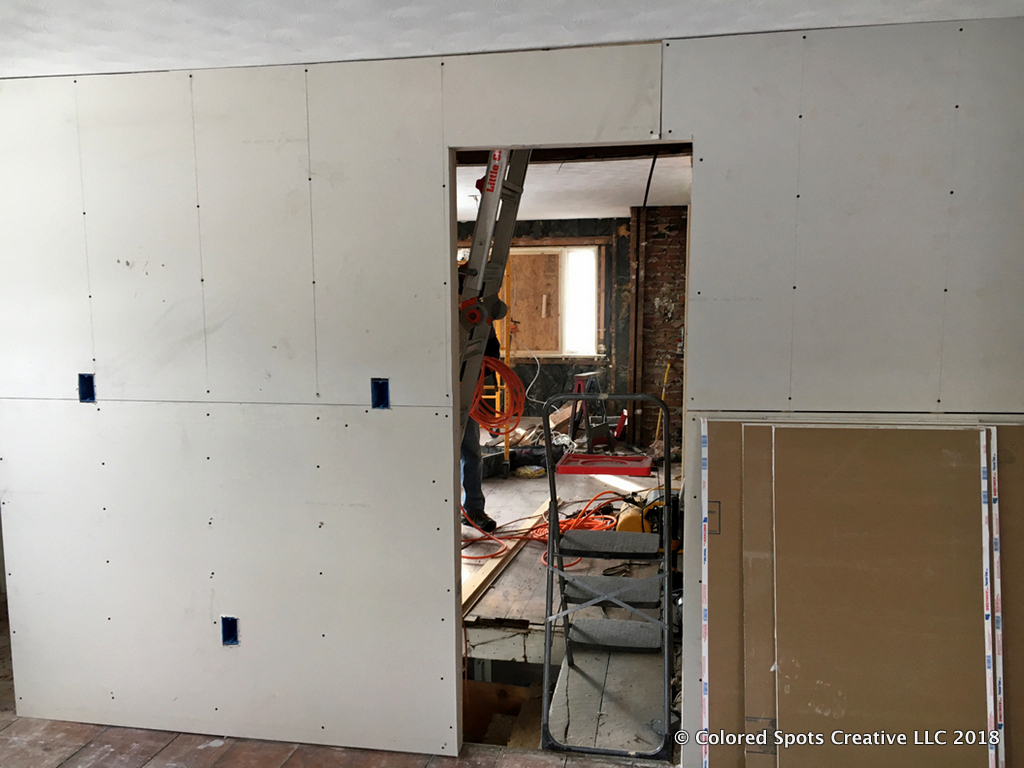
Placement of new basement doorway 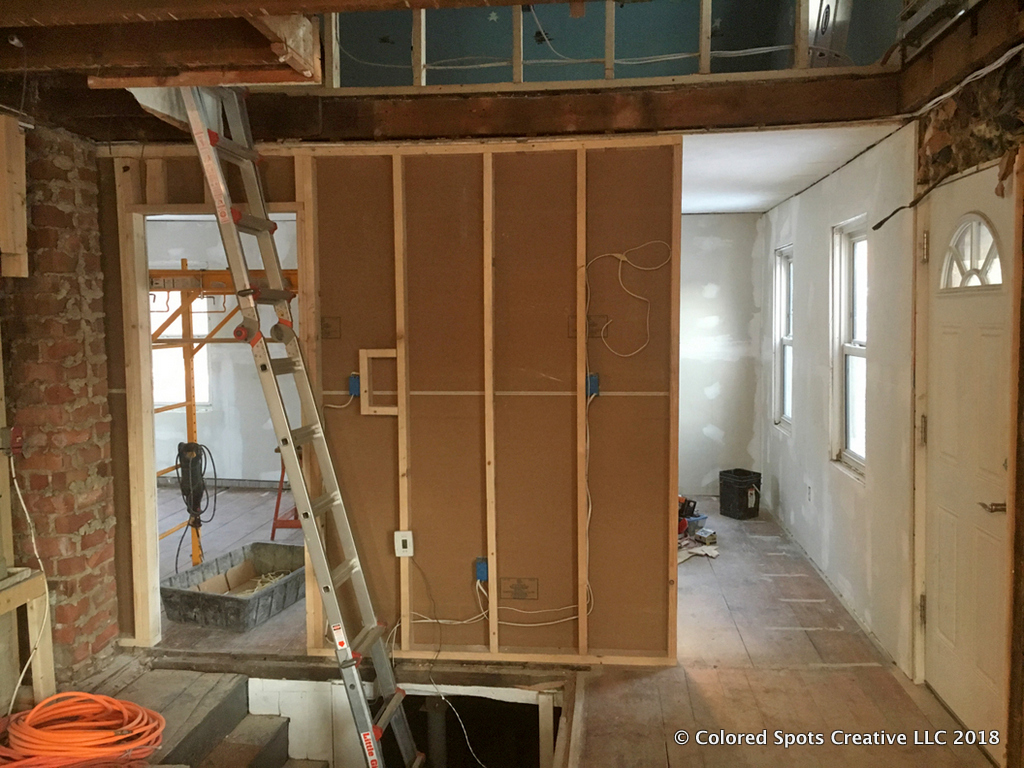
Inside of stairwell wall 
Drywalling stairwell vault 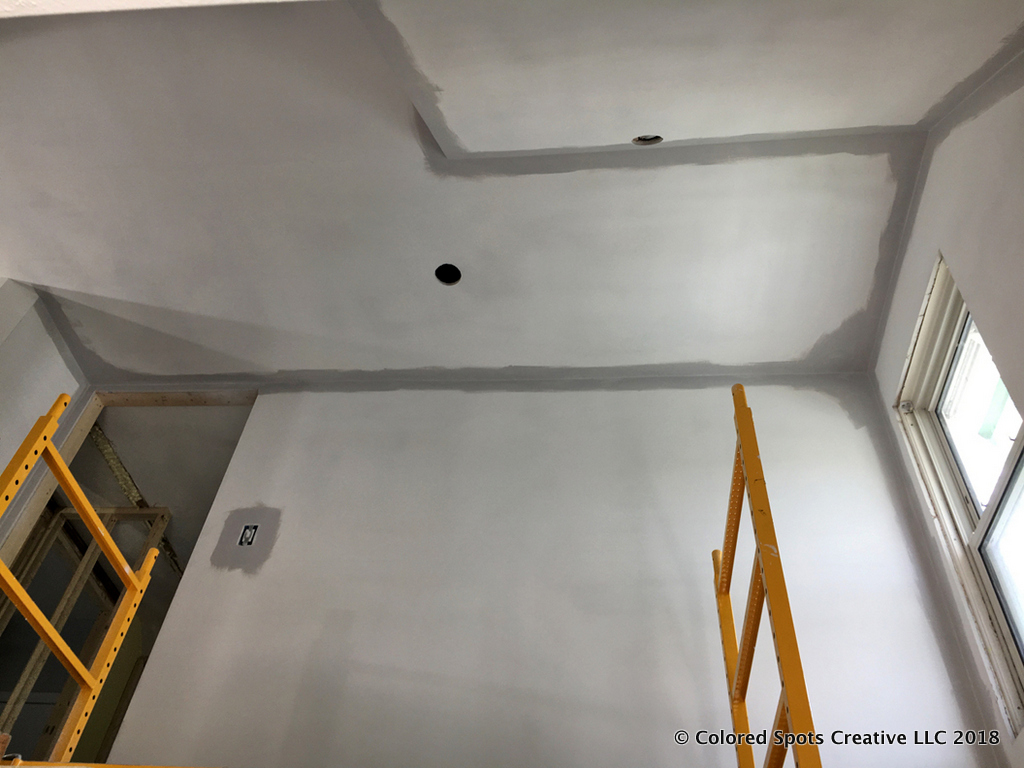
Looking up at the stairwell vault 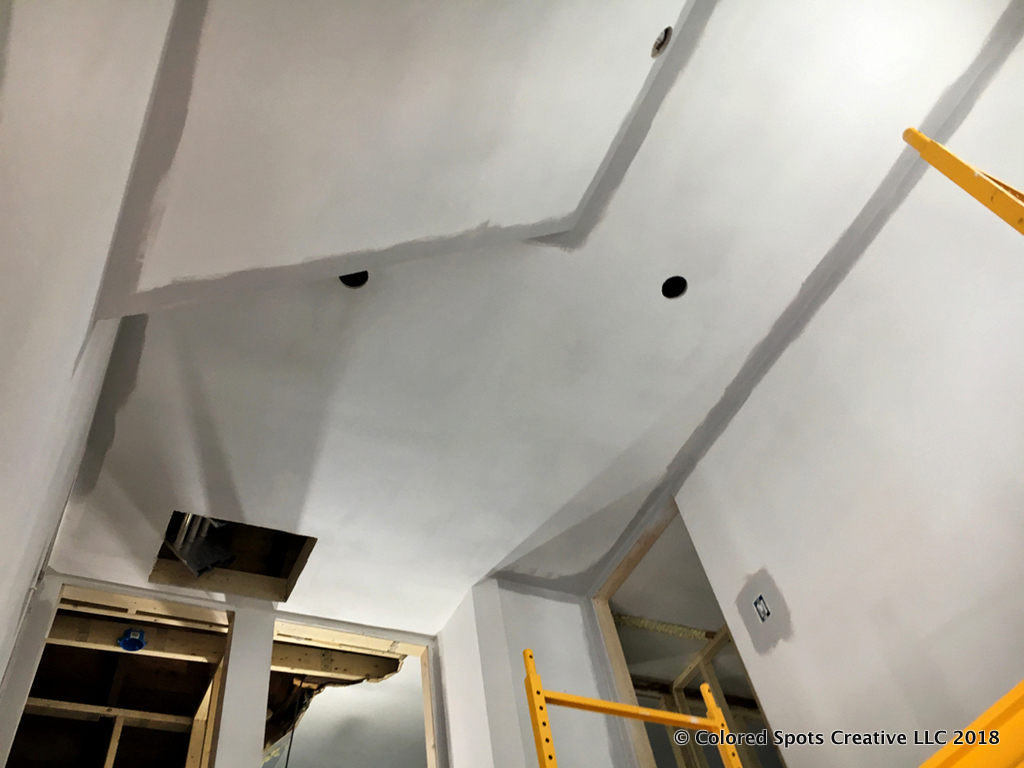
Detail of stairwell vault drywall from below 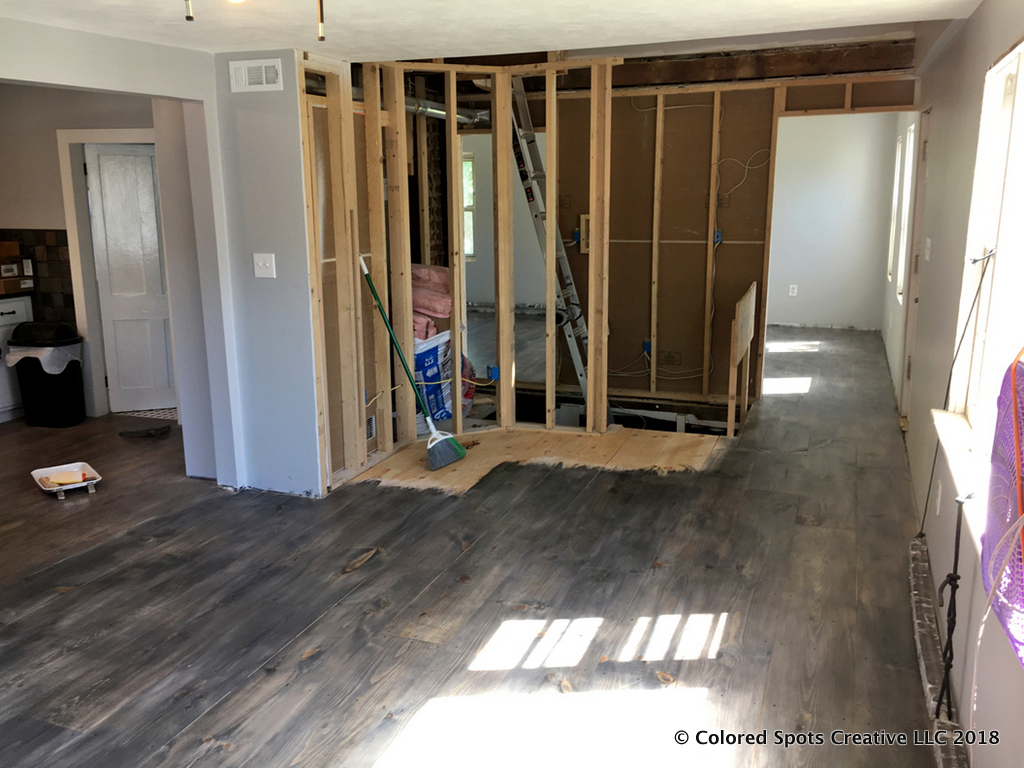
Showing the new finished stairwell before stairs are built
Building the Winding Staircase
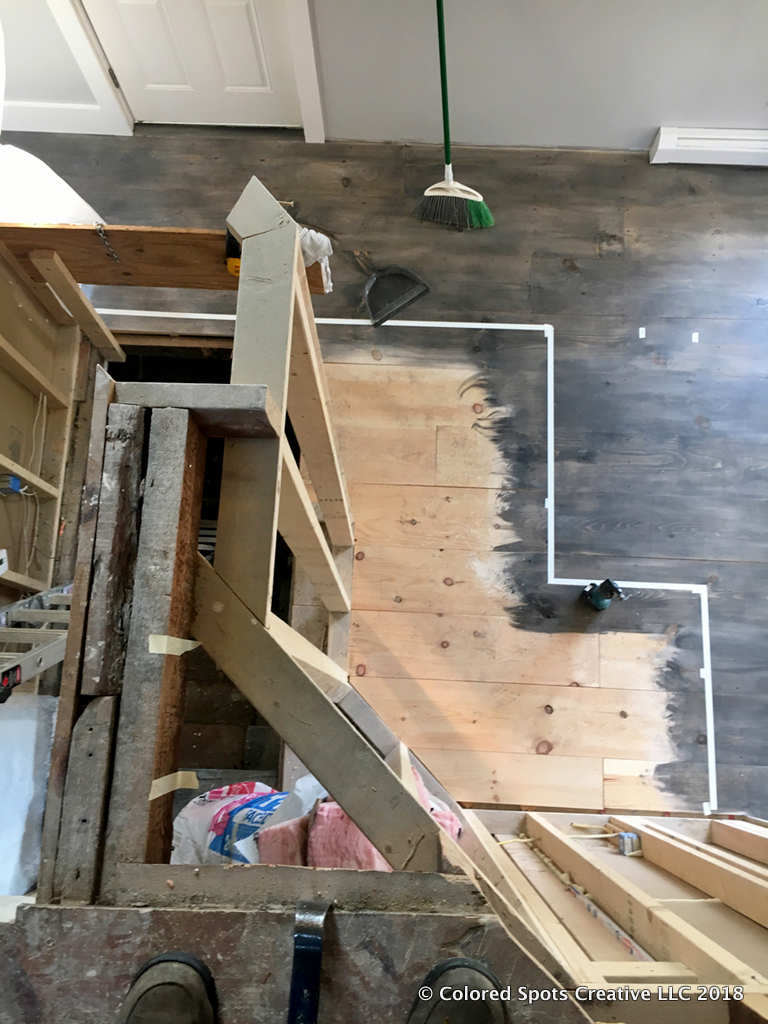
Taping out the staircase footprint 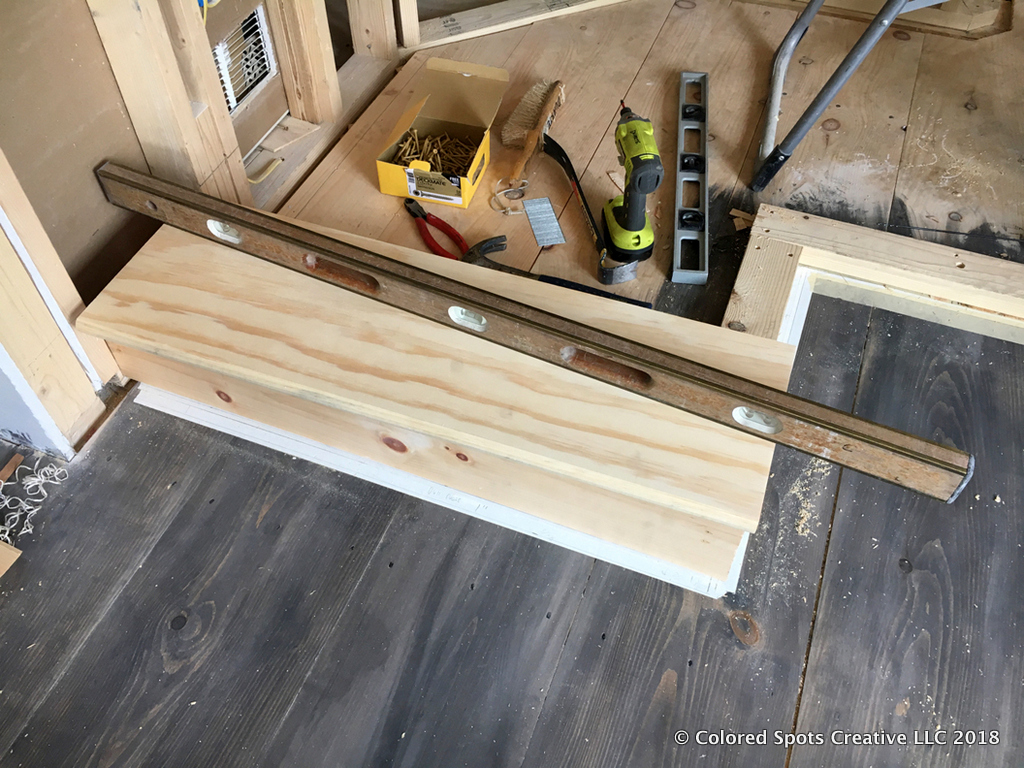
Installing the first step 
3 steps leading into the first winder 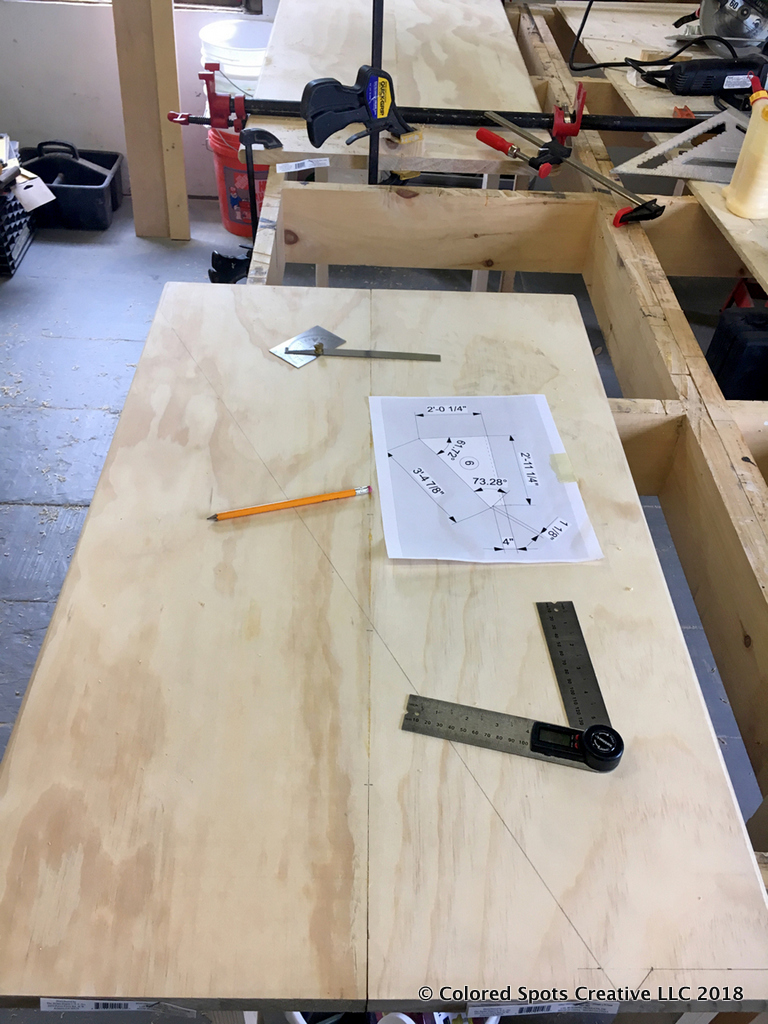
Mathing out the kite step for the winder 
Framing the kite step for the winder 
Placing the first kite step 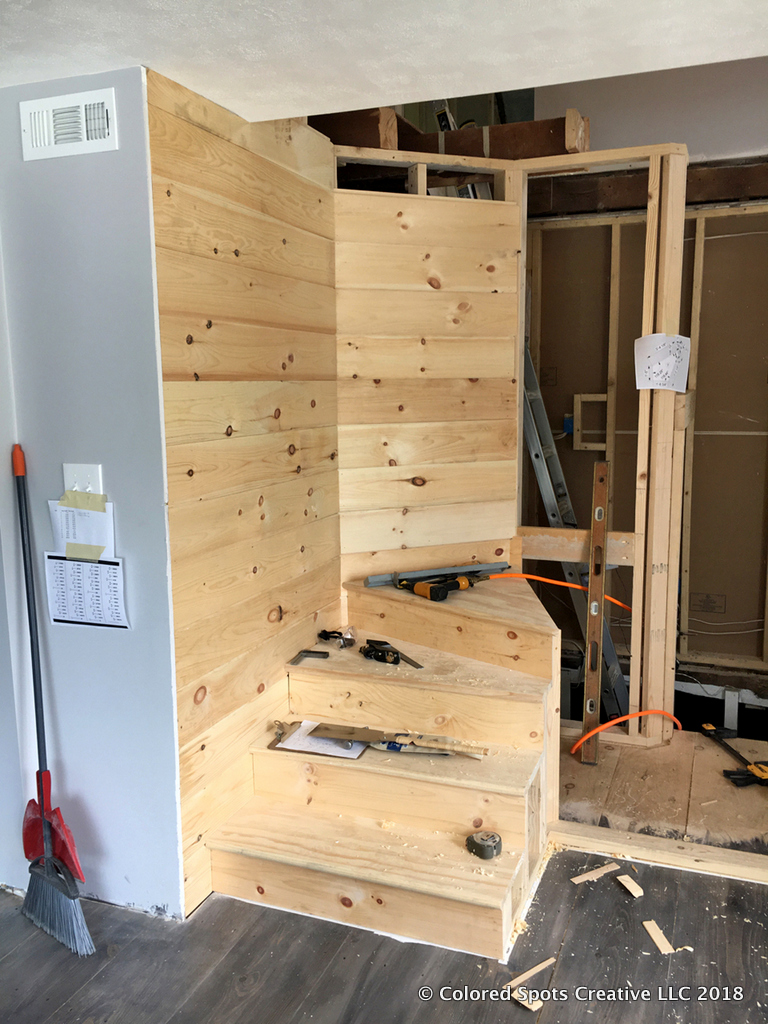
Paneling the staircase support wall with v-groove pine 
The stairs built into the 2nd winder 
Above showing the winding staircase 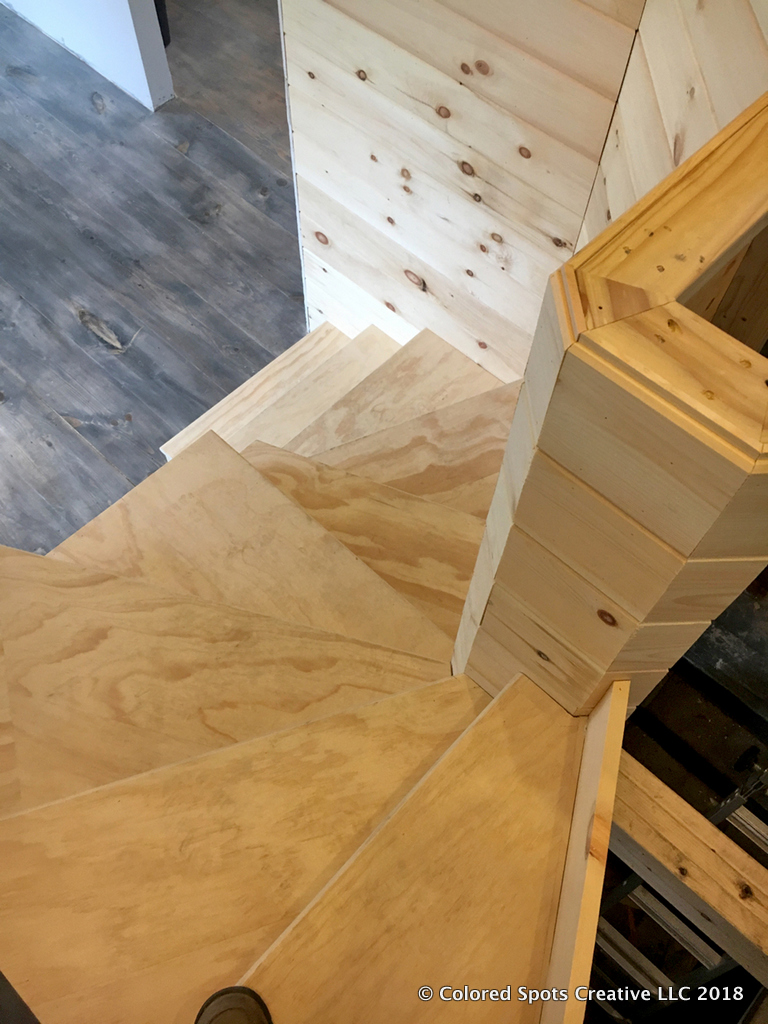
Detail of the winding staircase 
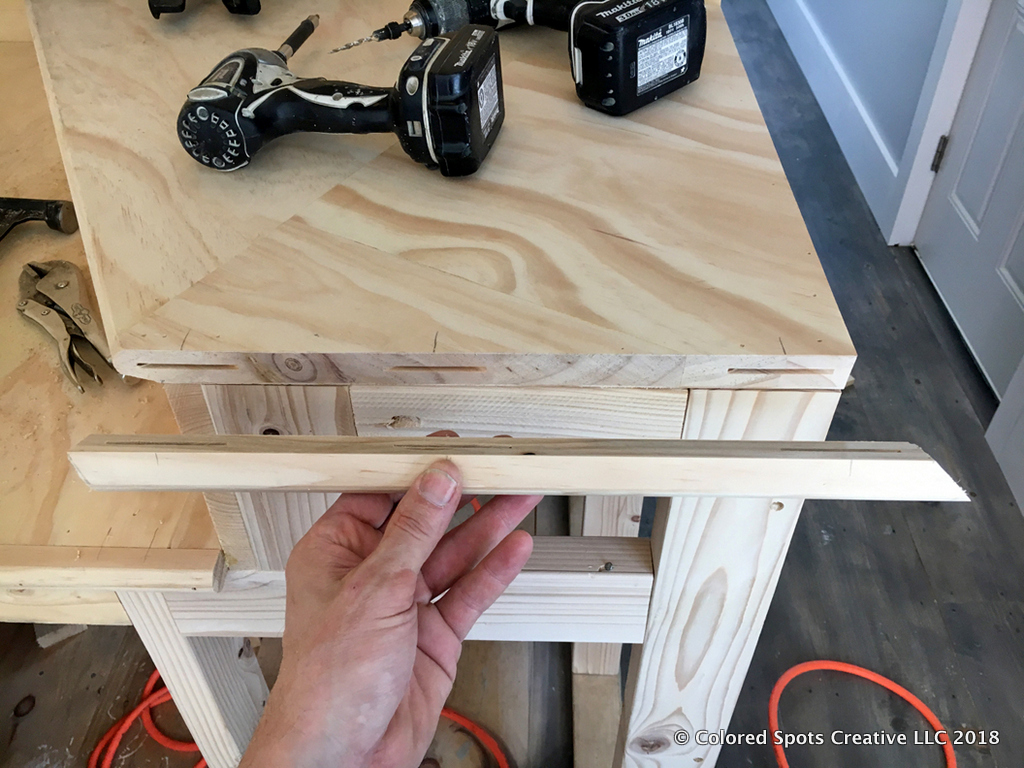
Mathing out the final step 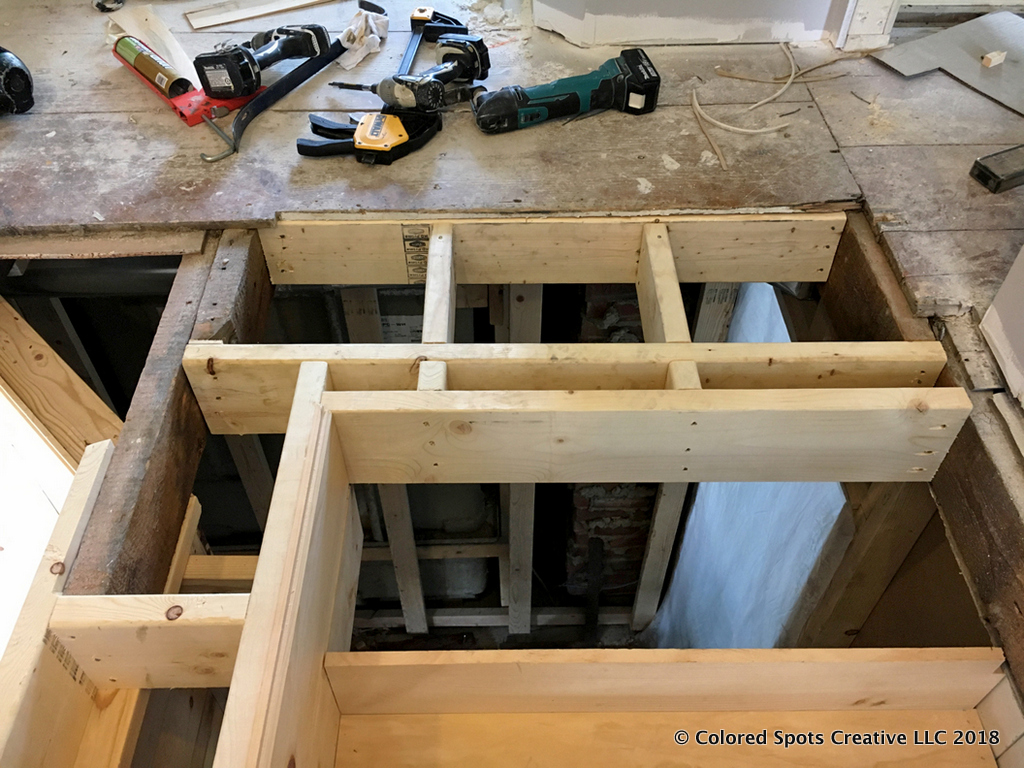
Framing the final step 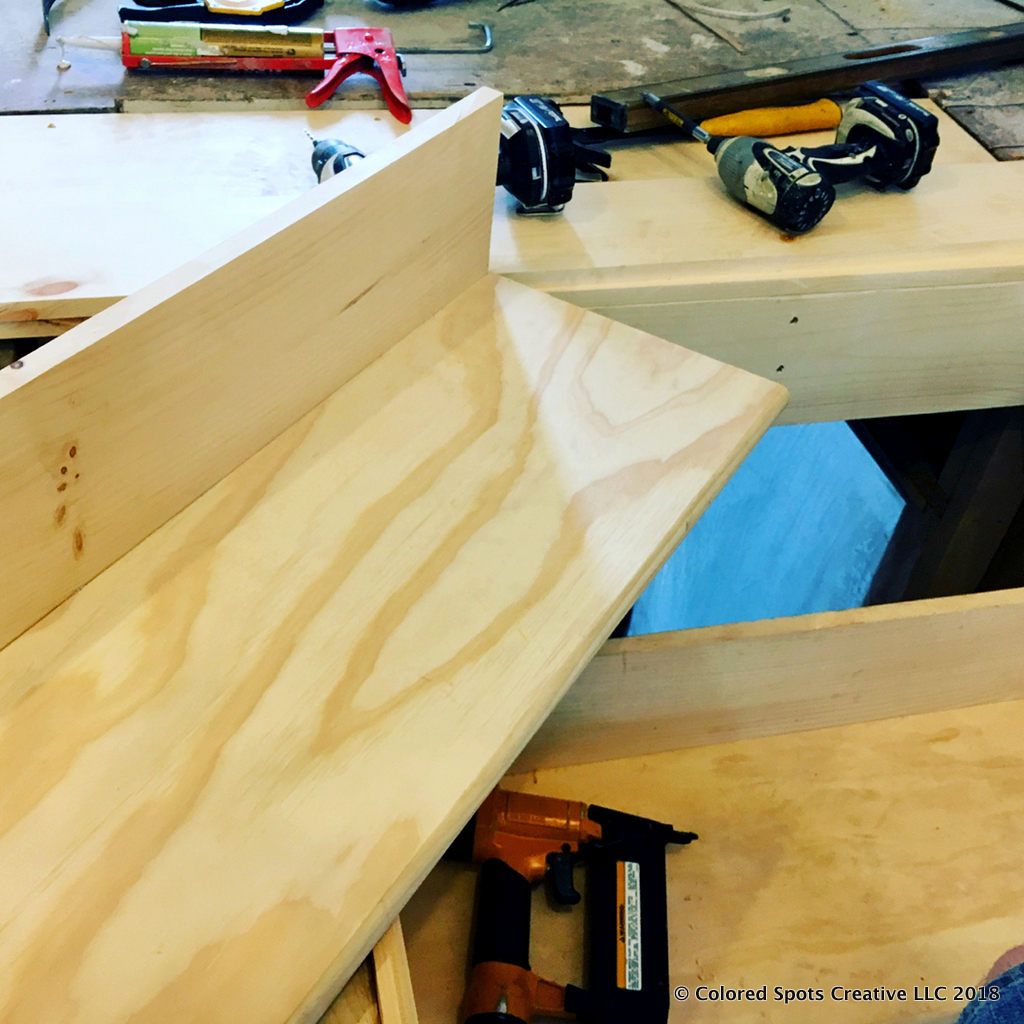
The final step going in 
Finished winding staircase from below 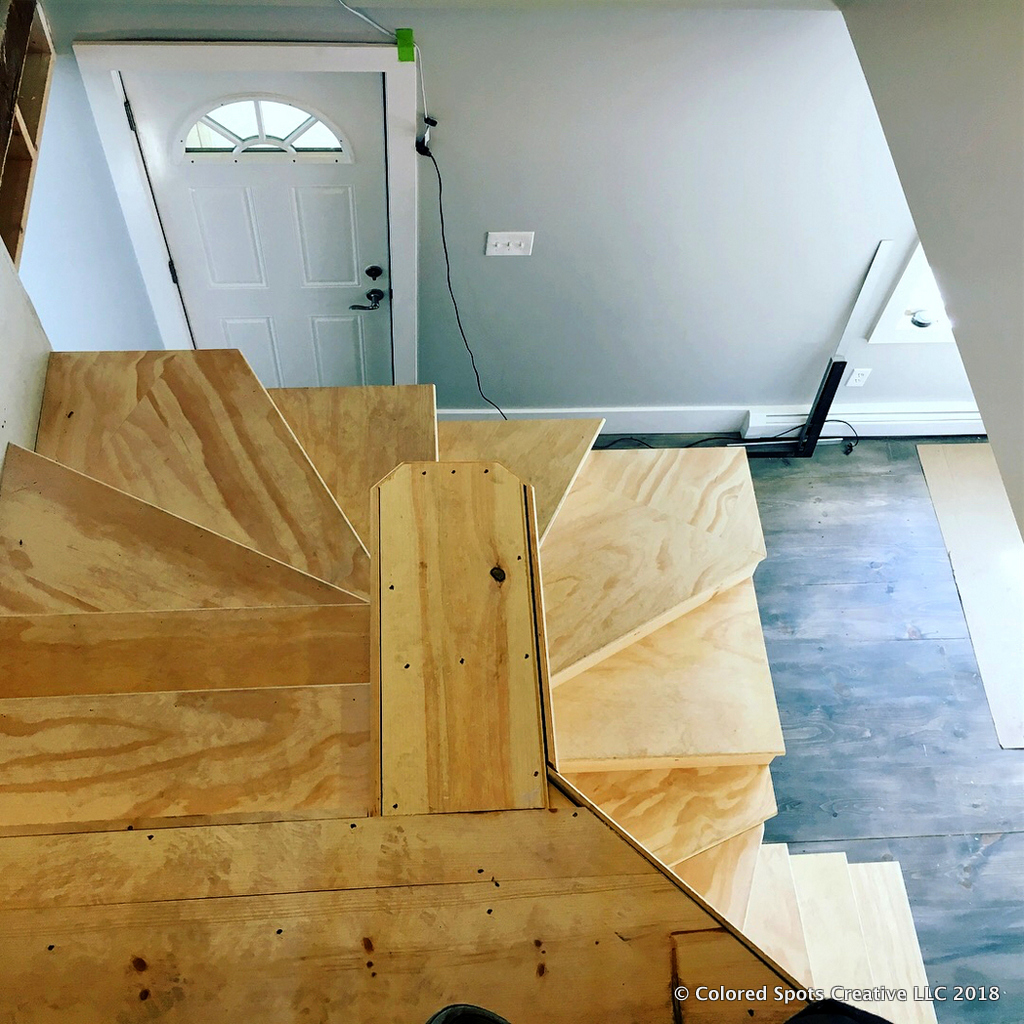
Finished winding staircase from above


Detailing the Winding Staircase
Installing bullnoses 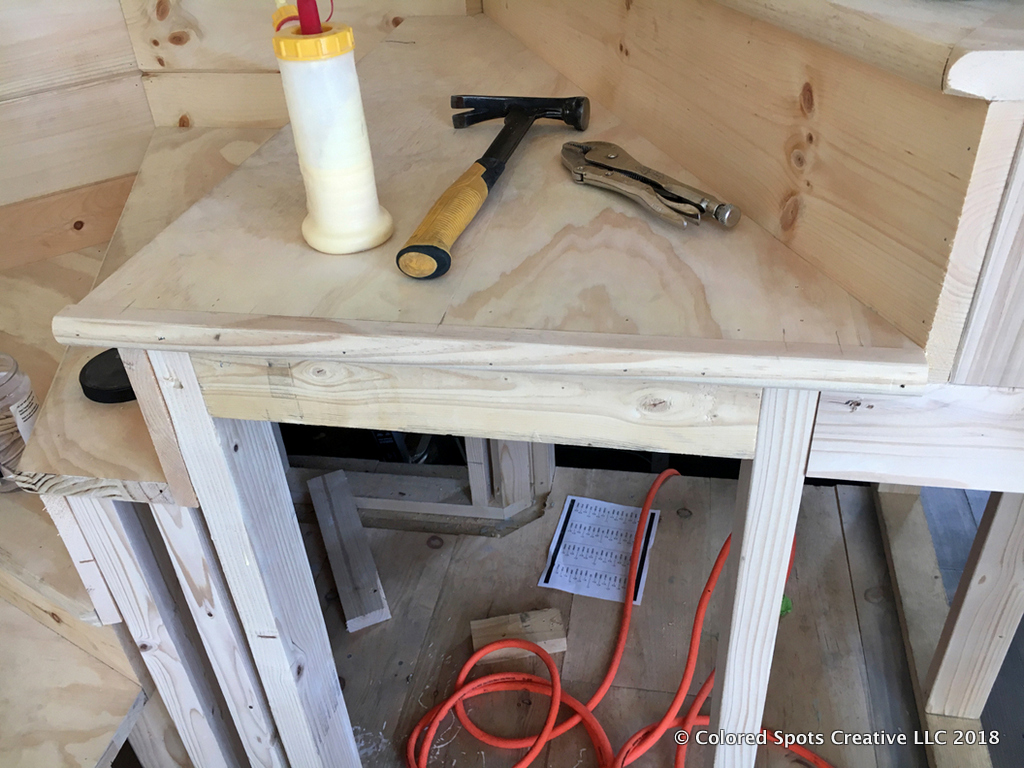
Gluing a bullnose 
Using biscuits to install bullnose 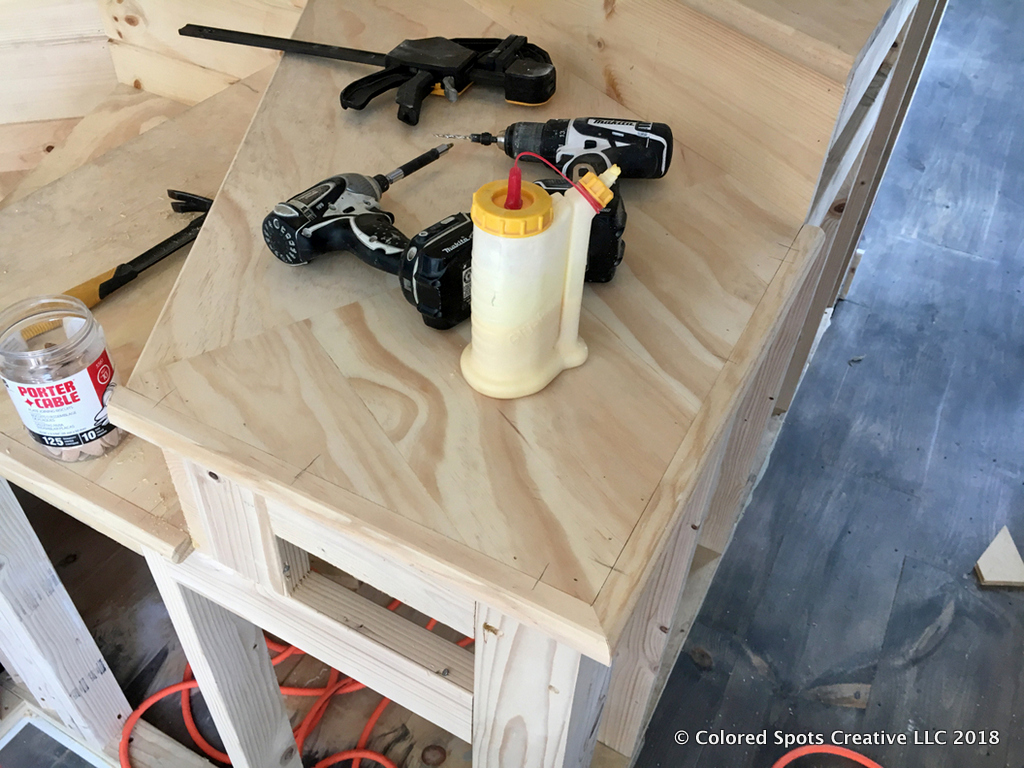
Detail of corner bullnose 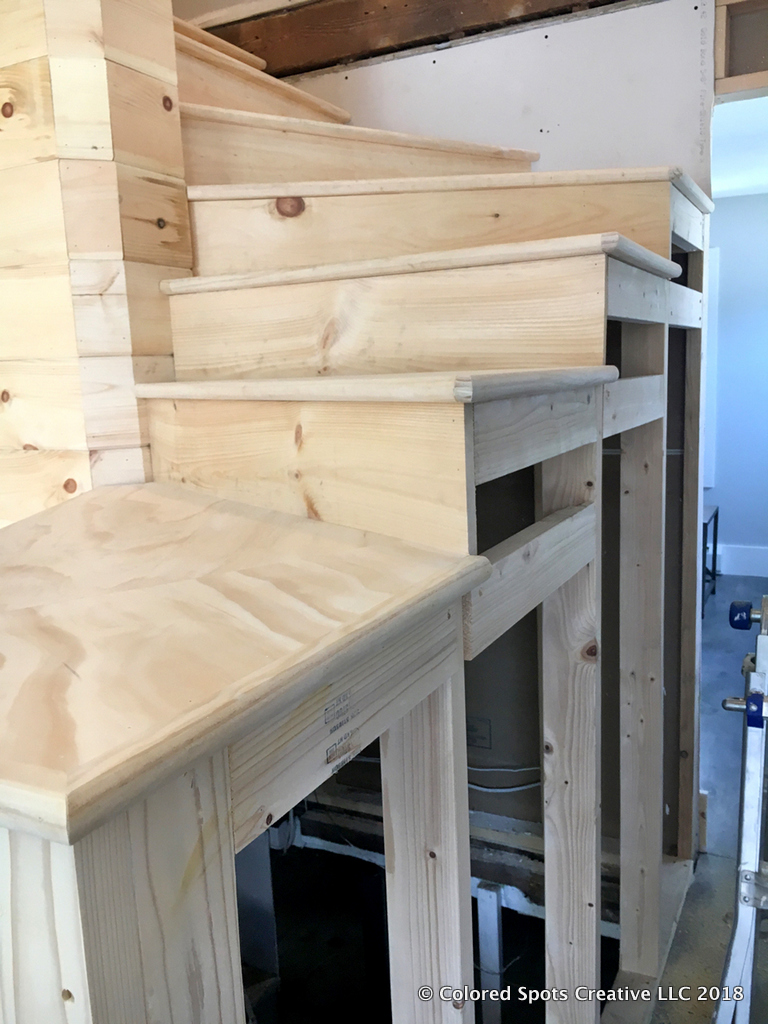
Outside bullnose on winding staircase 
Drywalling in support joist 
Sanding steps 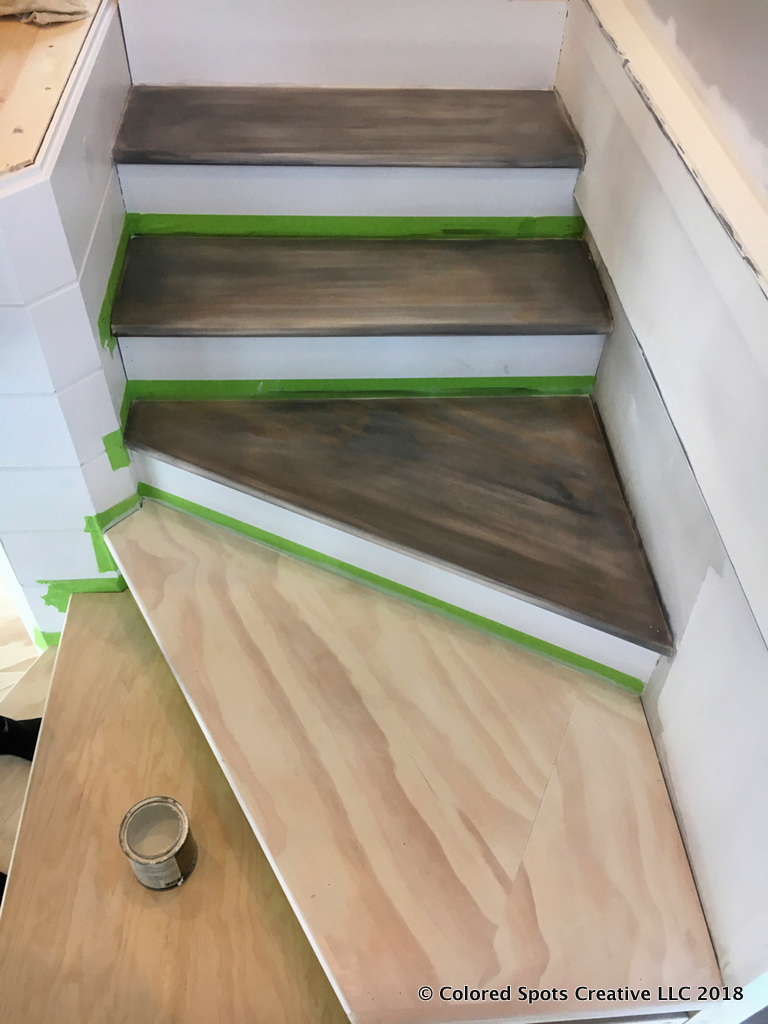
Staining steps 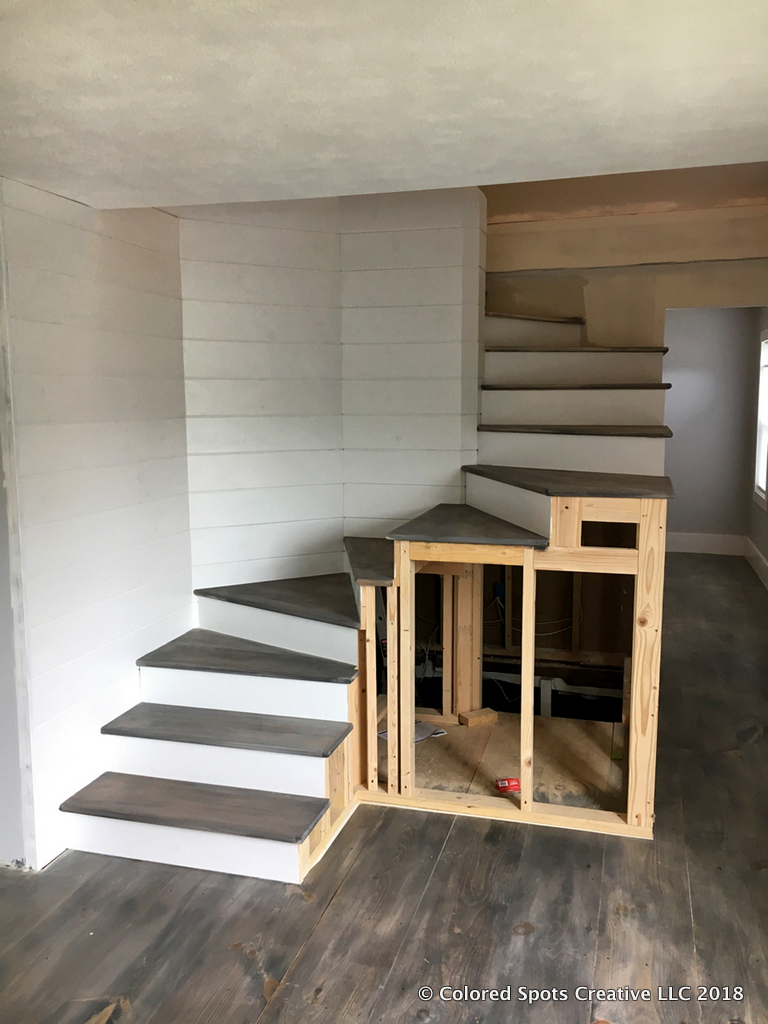
Finished steps
Railing for the Winding Staircase
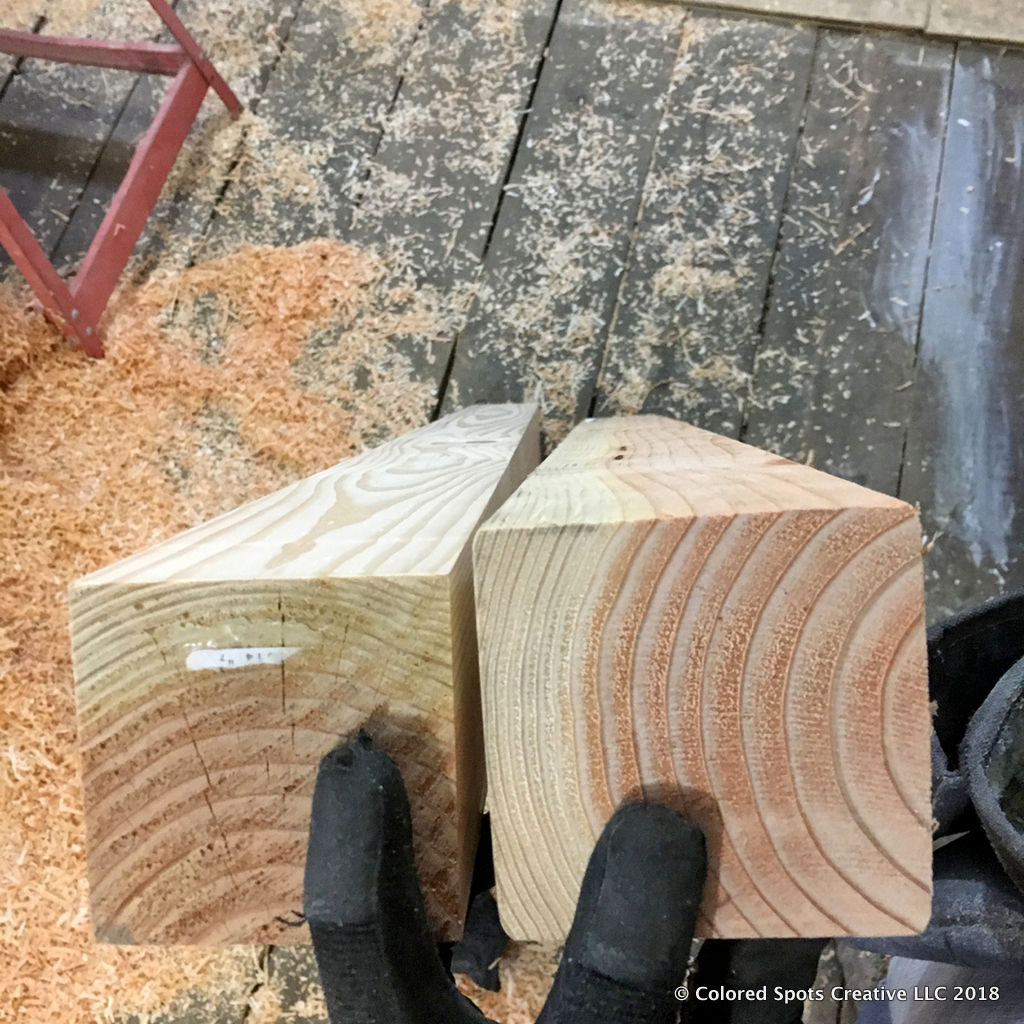
Milling 4x4s into mill posts 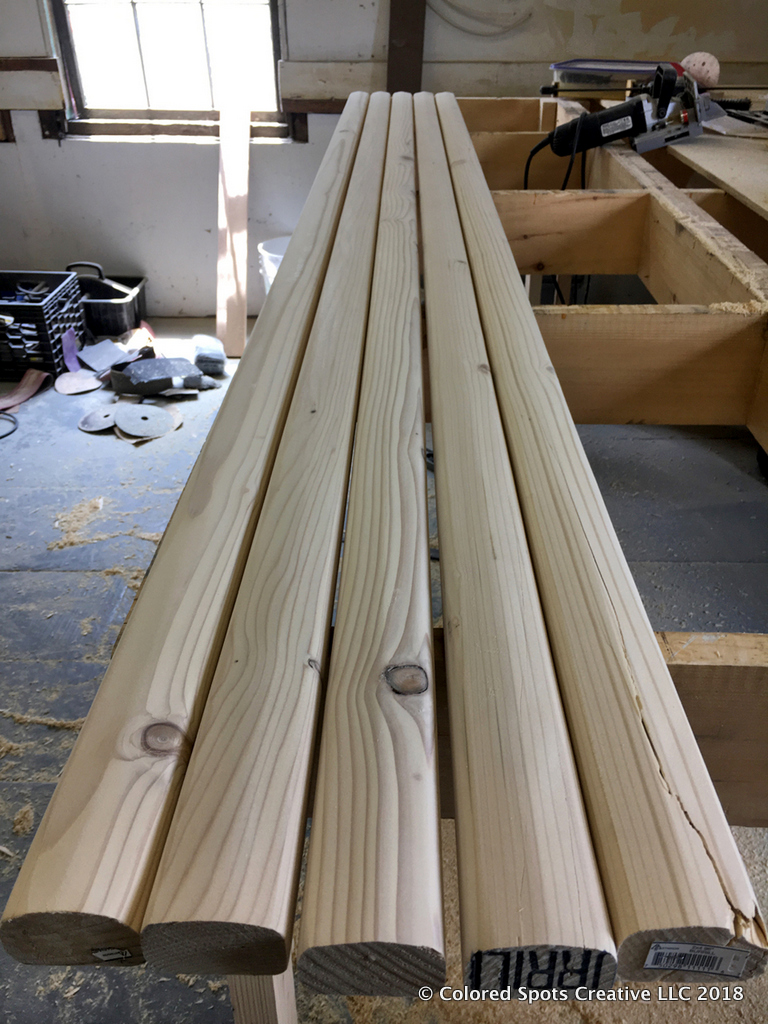
Milling 2x4s into handrails 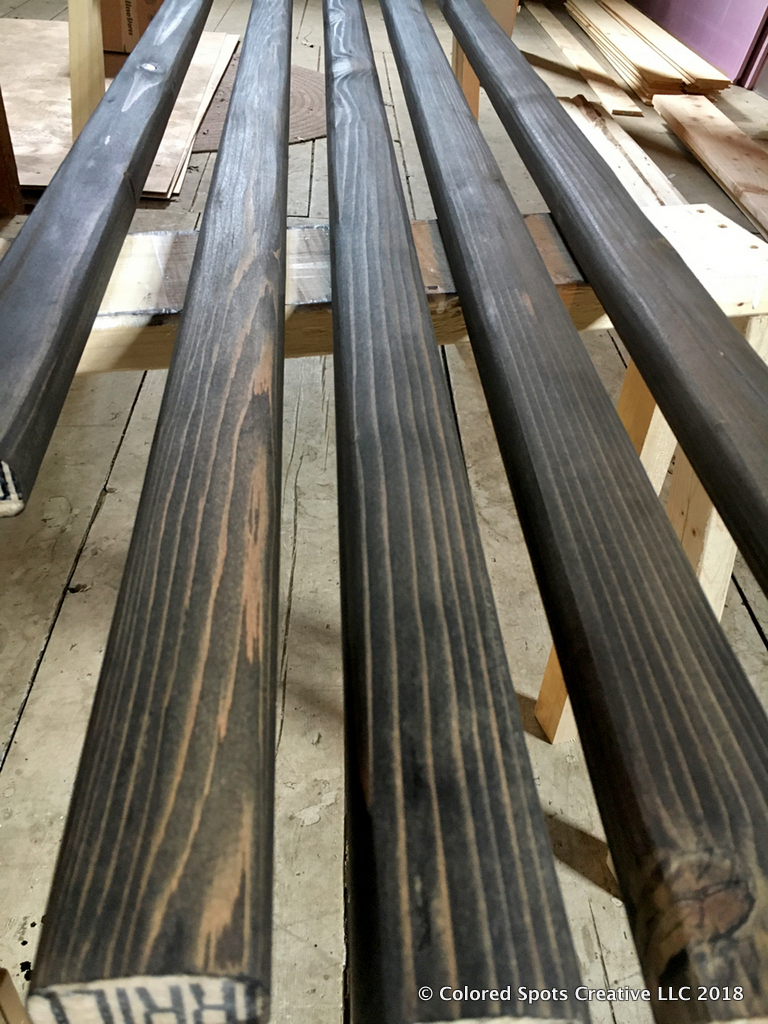
Staining handrails 
Notching steps to fit newel post 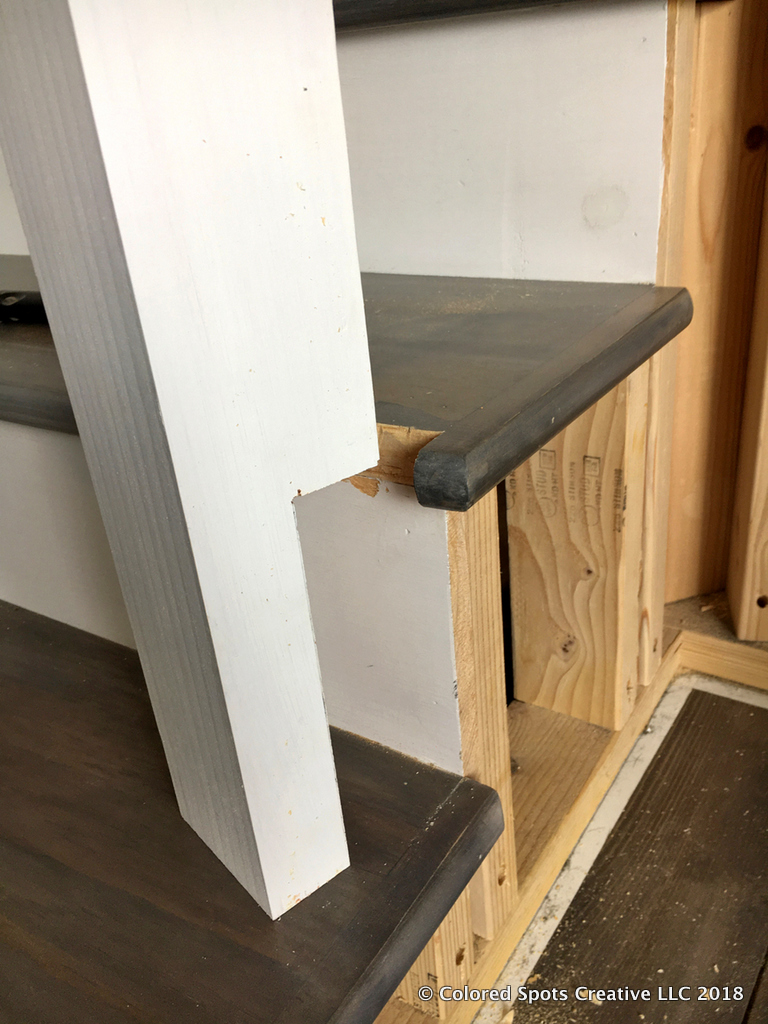
Newel post cut to fit bottom step 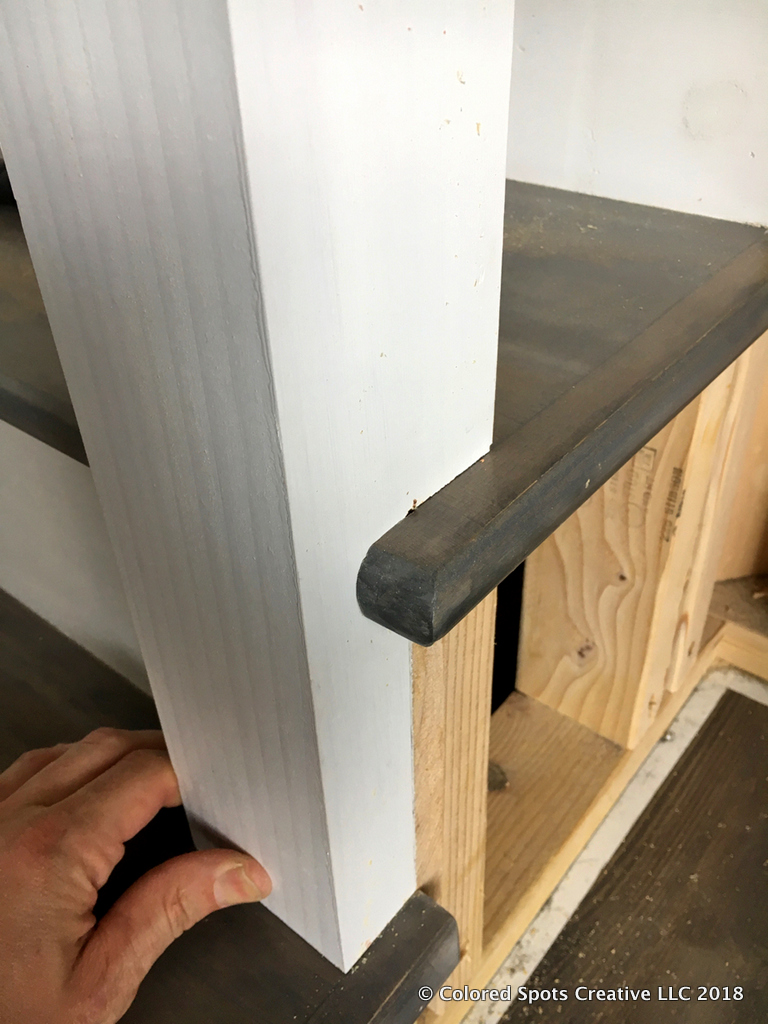
Detail of newel post 
1st winder railings install 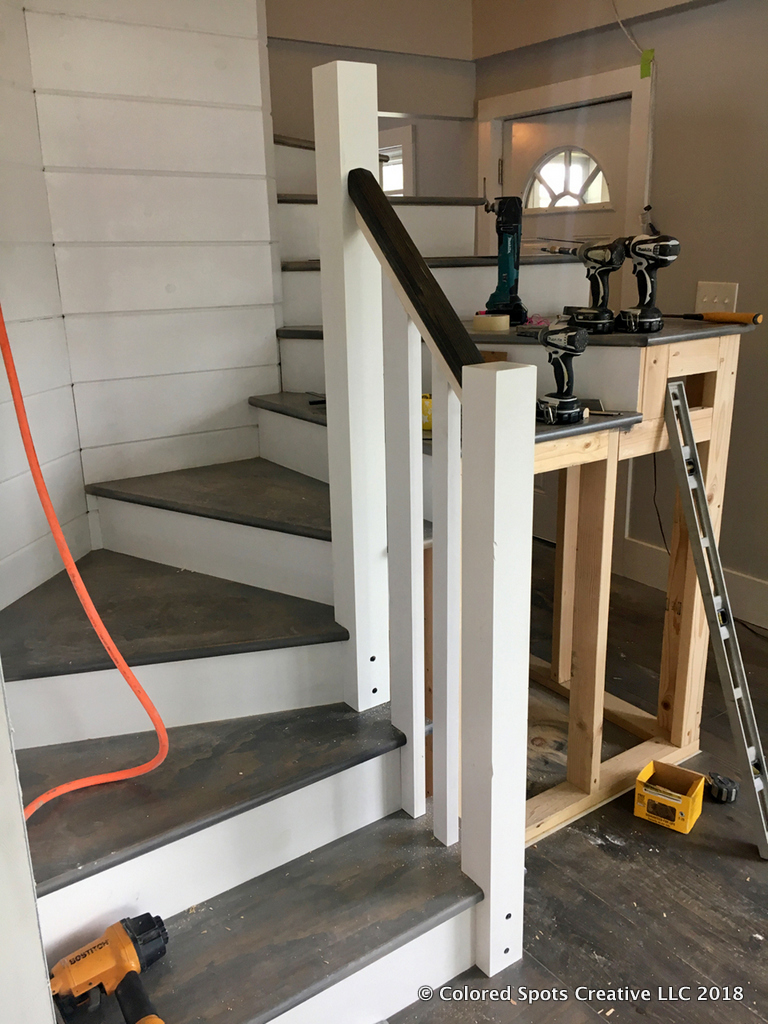
Detail of 1st winding railing 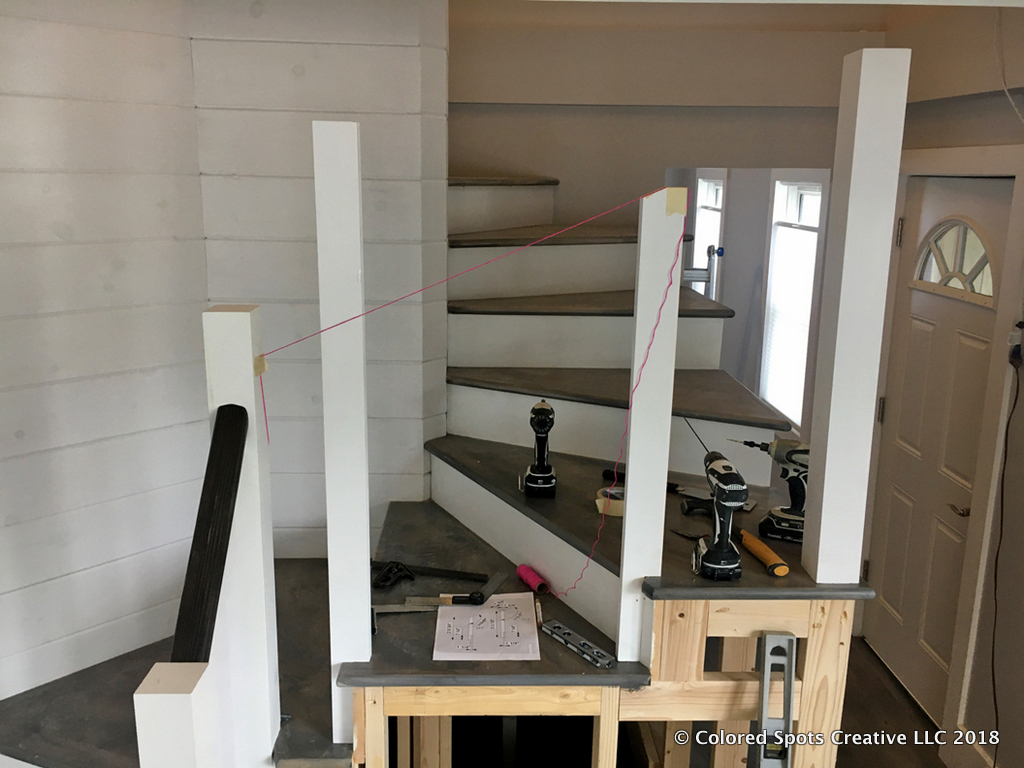
Measuring railing posts with a string 
Detail of cut railing posts 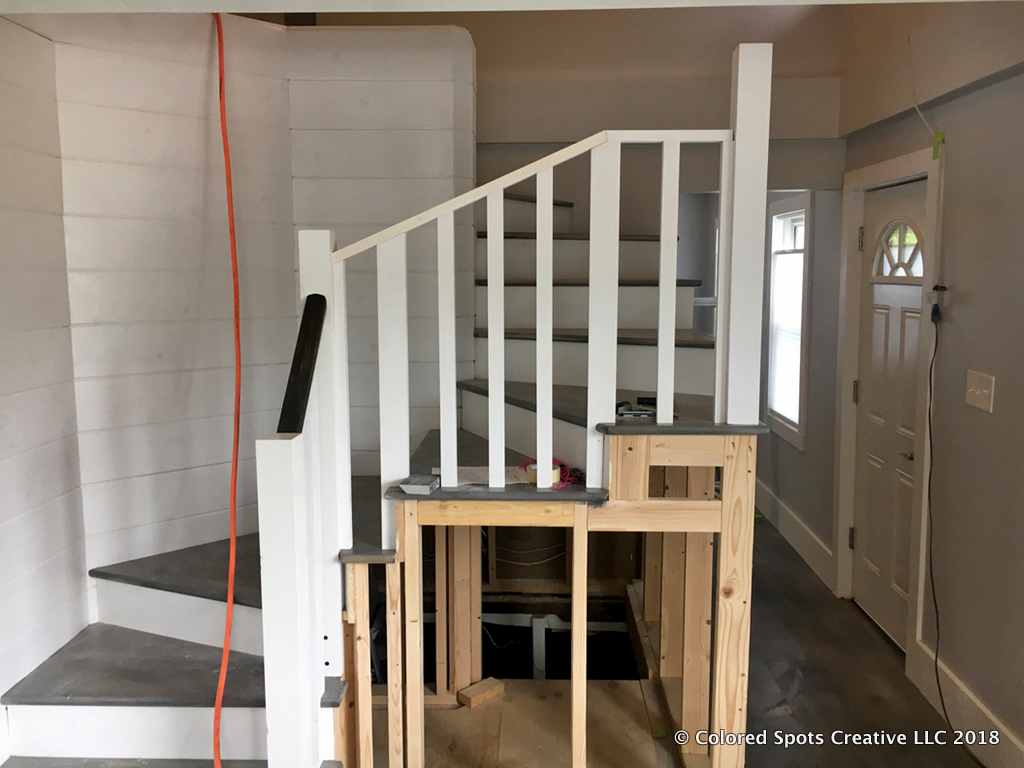
Installation of spindles 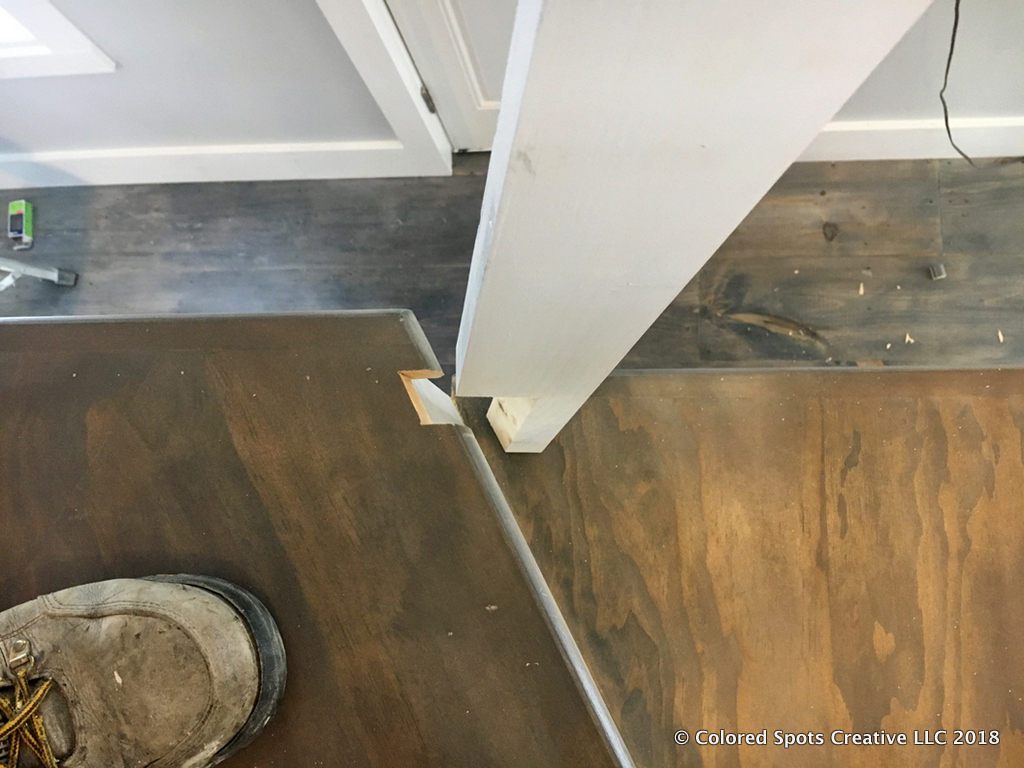
Detail of post notch on winding step 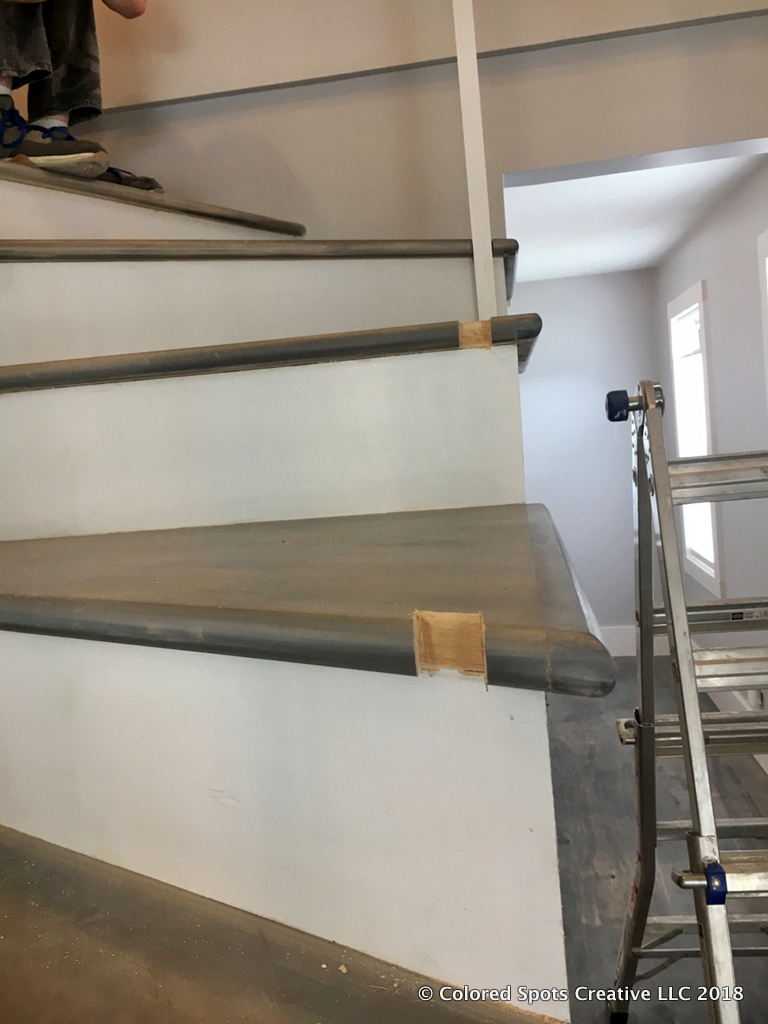
Multiple support posts were used to add strength to this long railing 
Showing the railing support posts 
Detail of the final newel post notched into a support rafter 
Maths of proper spindle spacing 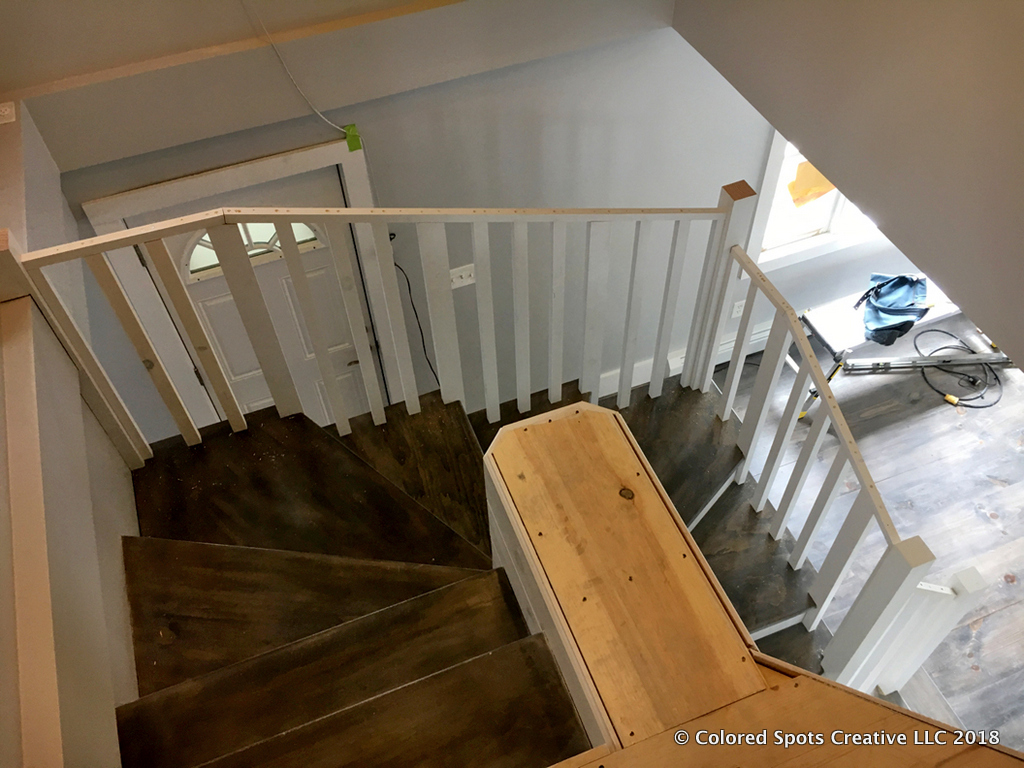
Installed spindles from above 
Installed spindles on open side of winding staircase 
Handrail going on 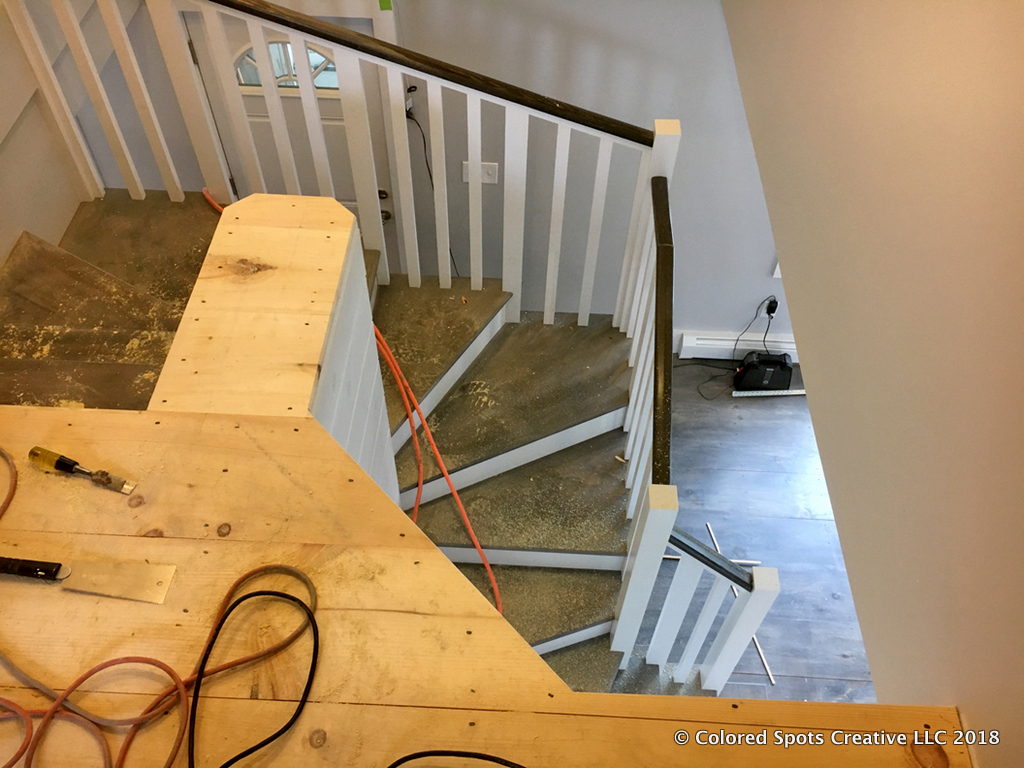
Showing the handrail from above 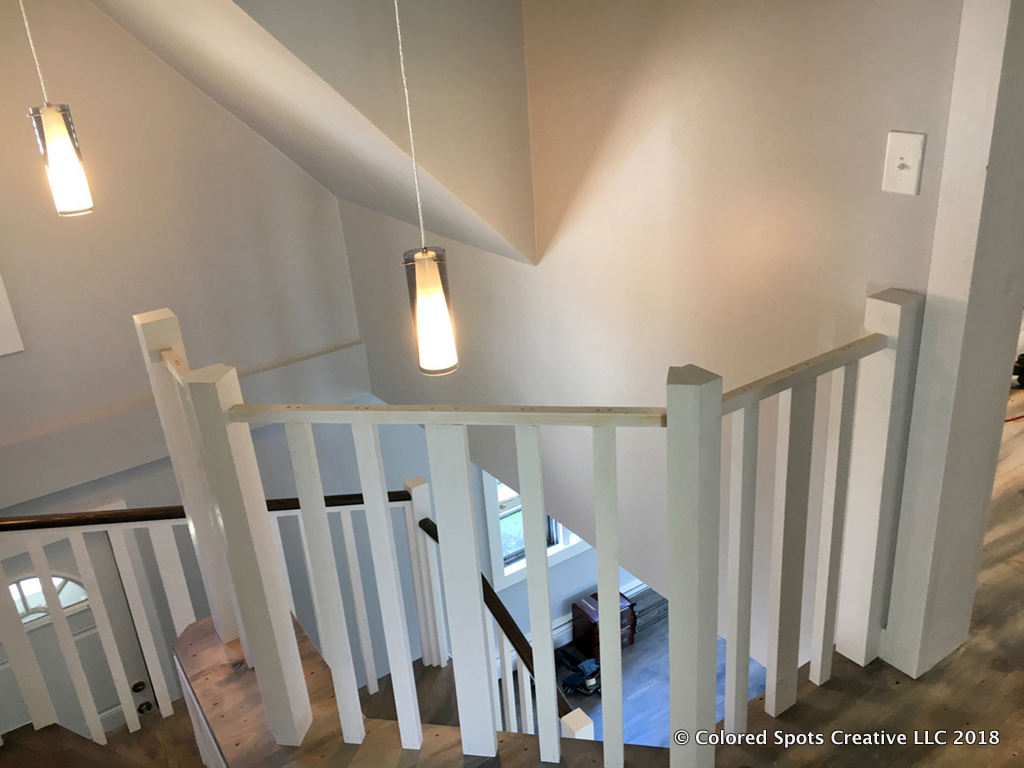
Top gallery handrail support 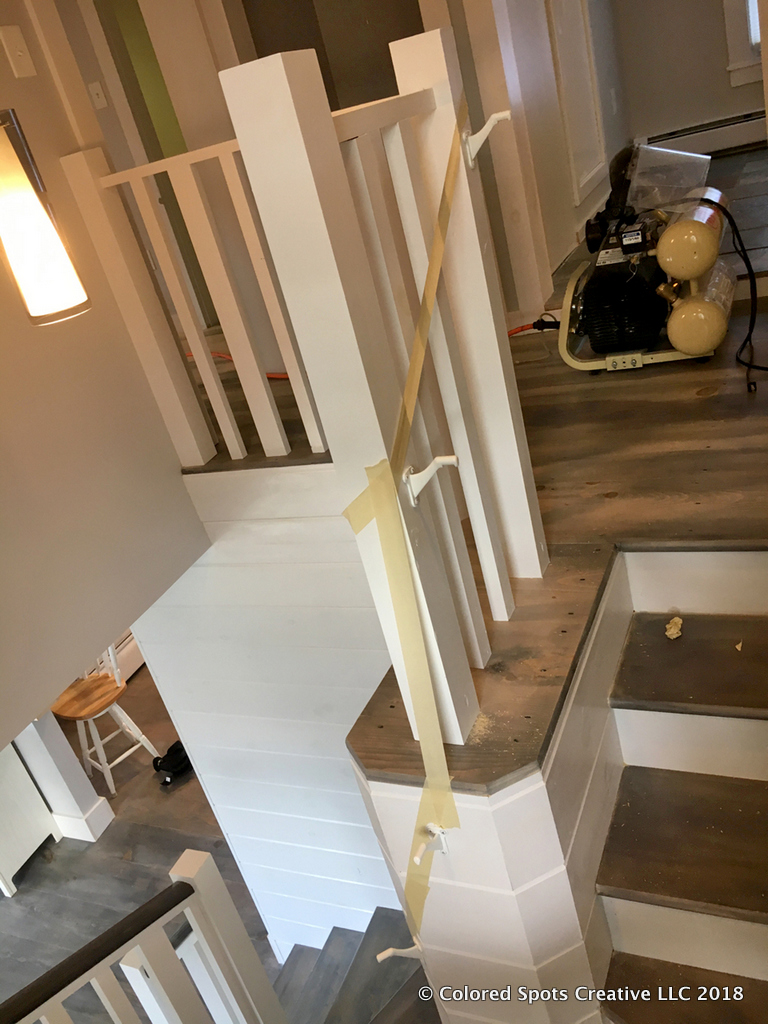
Taping out multi-angled inside handrail 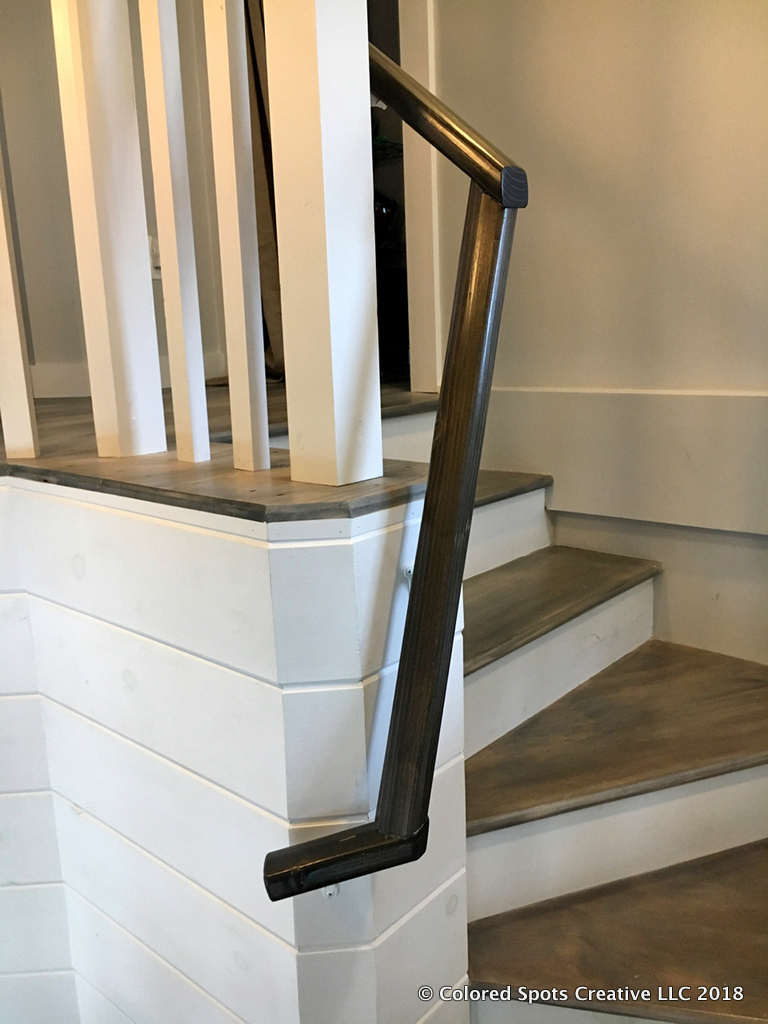
Installing a multi-angled inside handrail 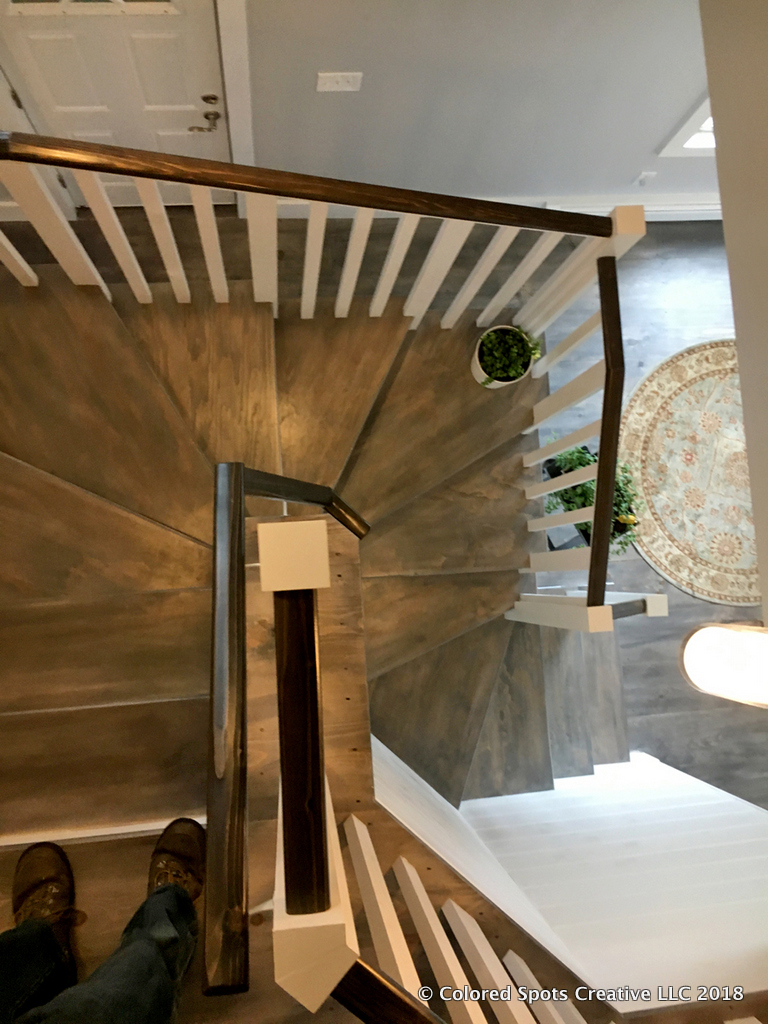
Handrails from above
Finished Winding Staircase
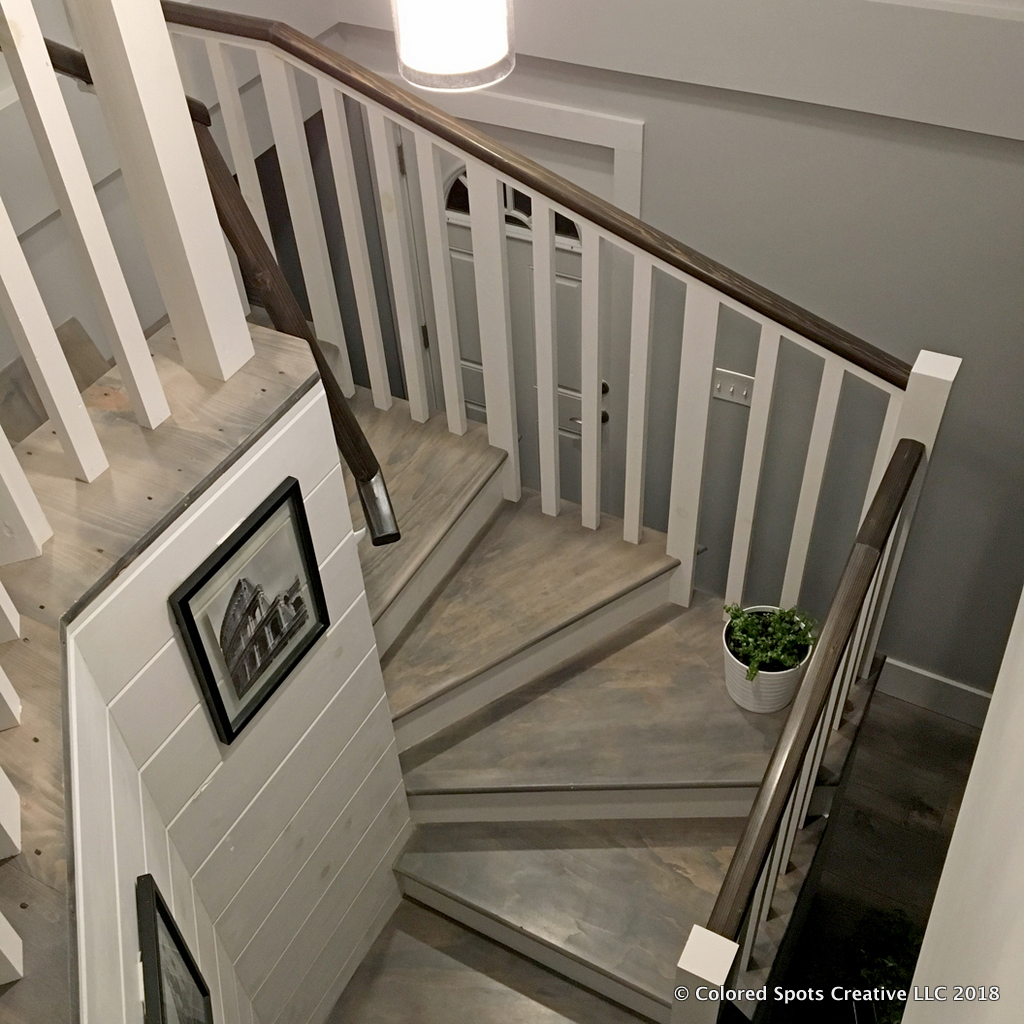
Finished winding staircase from above 
Finished winding staircase from gallery 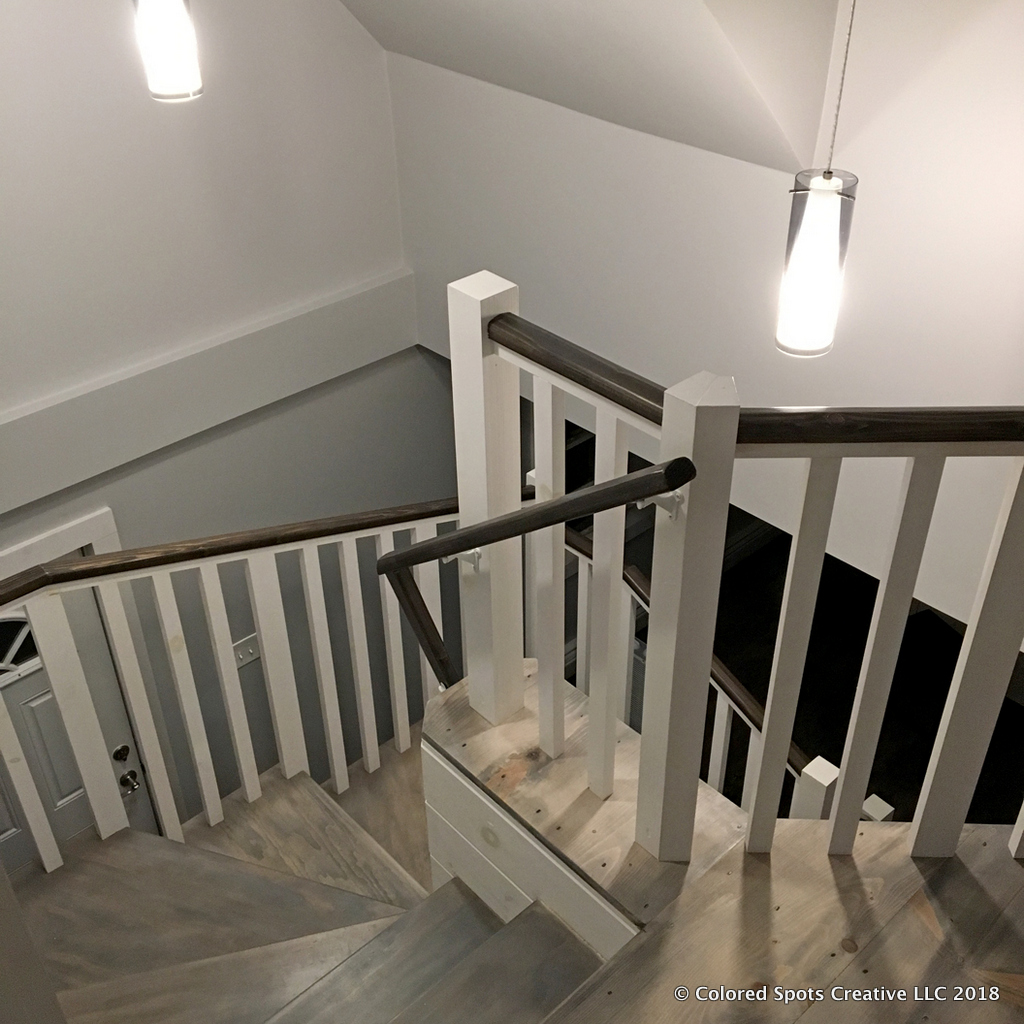
Finished winding staircase from 1st step down 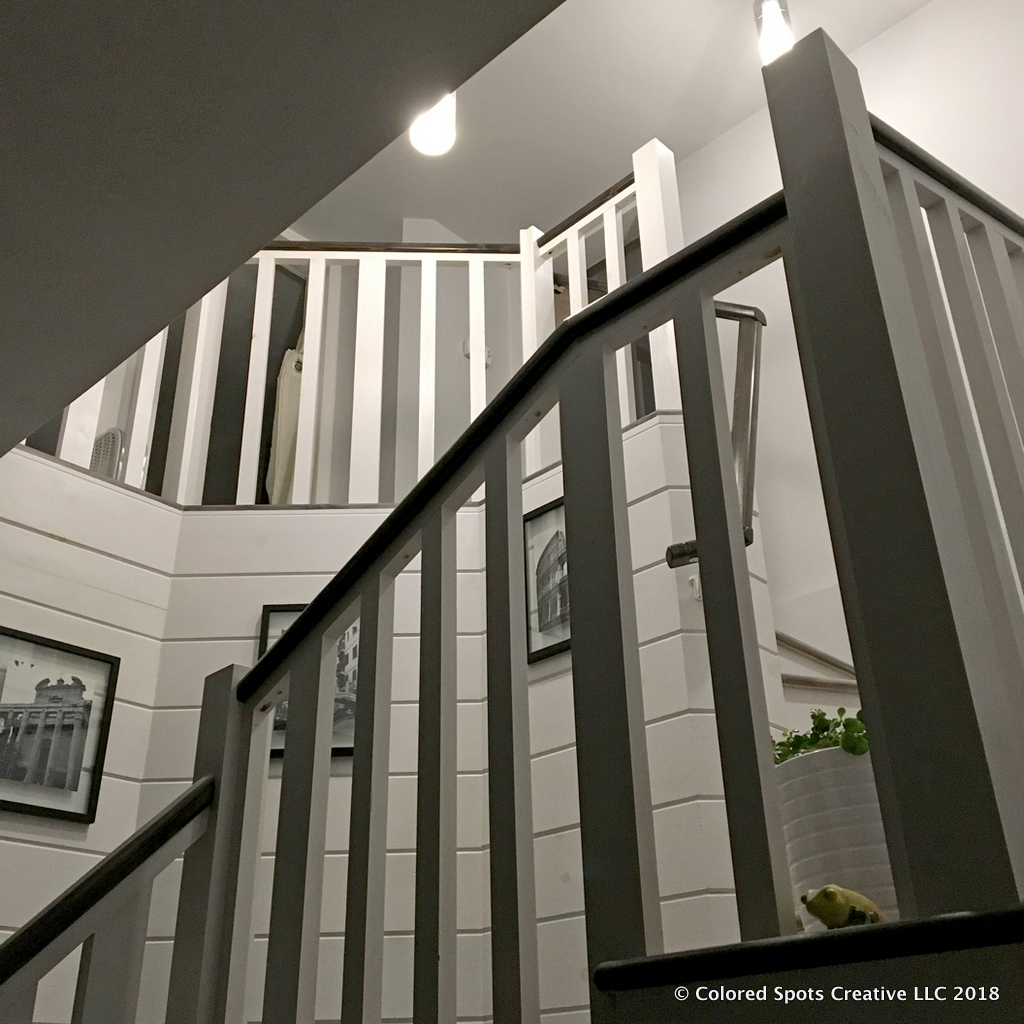
Finished winding staircase from below 
Detail of finished winding staircase railing 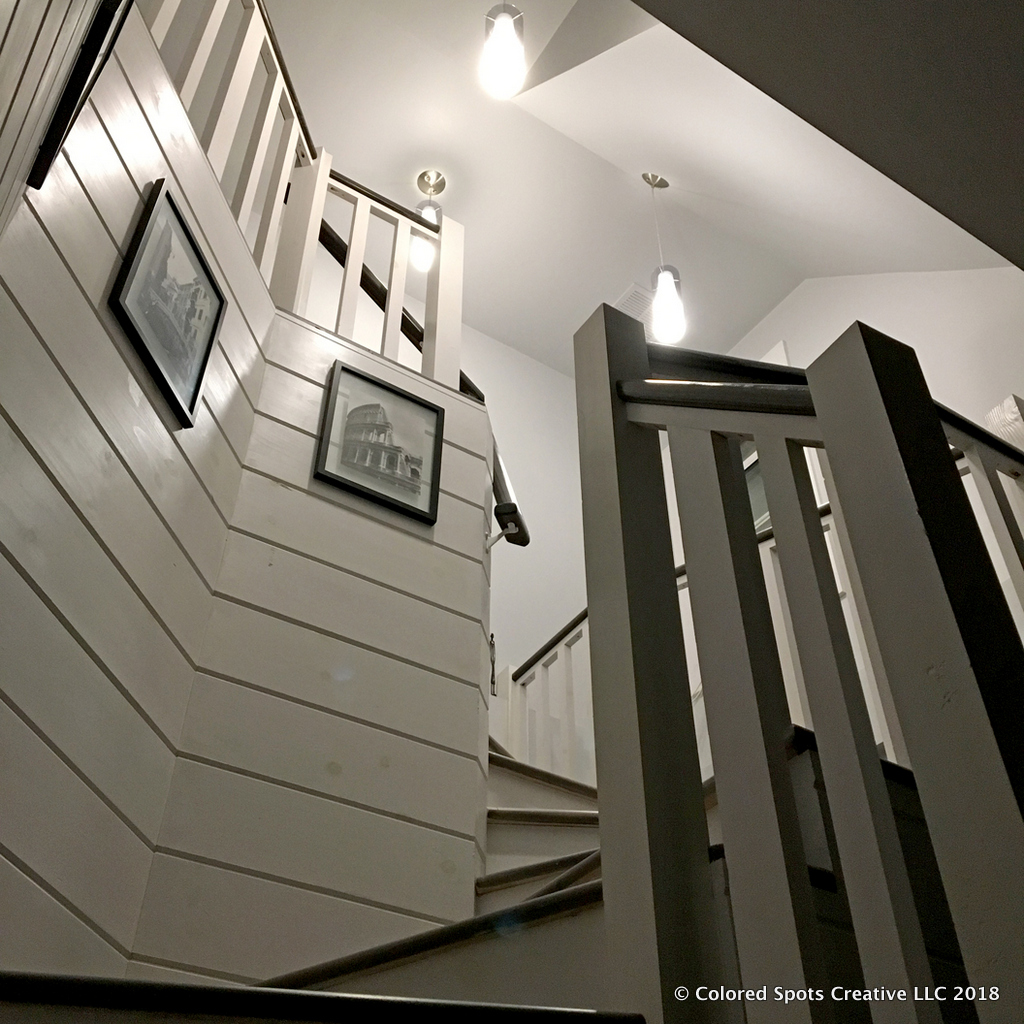
Finished winding staircase from 1st step up 
Finished winding staircase straight on 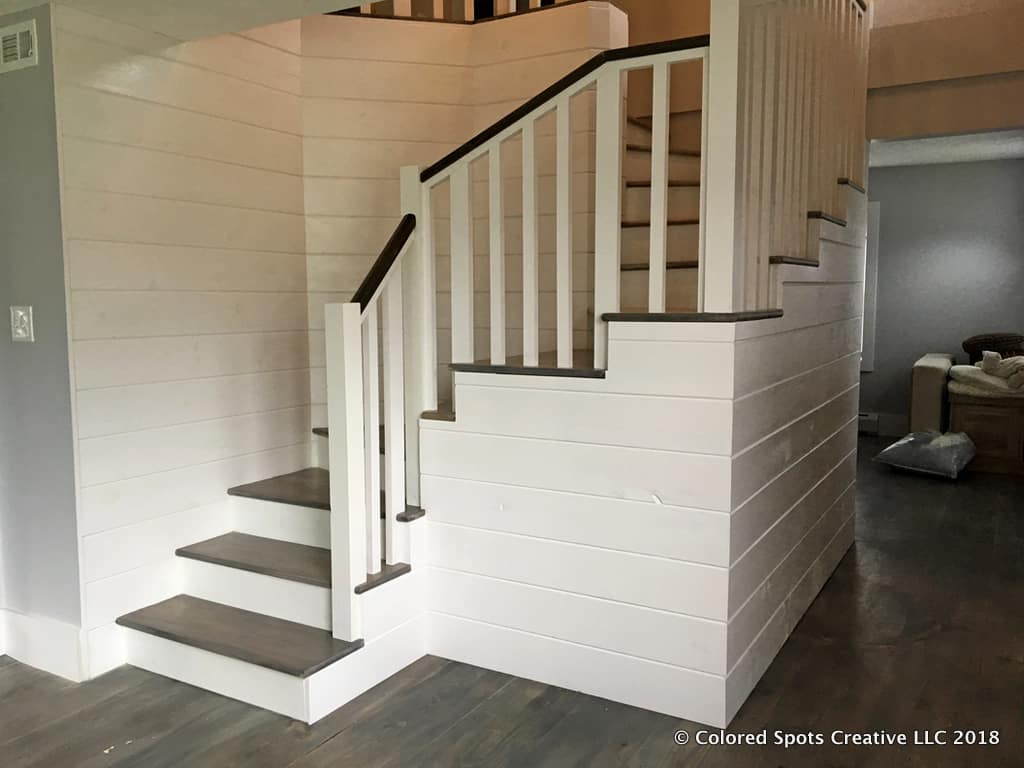
Finished winding staircase from corner
Wrap Replacing a Grandfathered Staircase
This project was unique because the 1880s farmhouse was vacant at the time we did the work and there were a lot of other renovations happening at the same time. If you’d like to check out the rest of the New England Farmhouse renovation you can jump over to the Blocks and Spots youtube channel and watch from the very beginning.
Thanks for tuning in!
-garrett